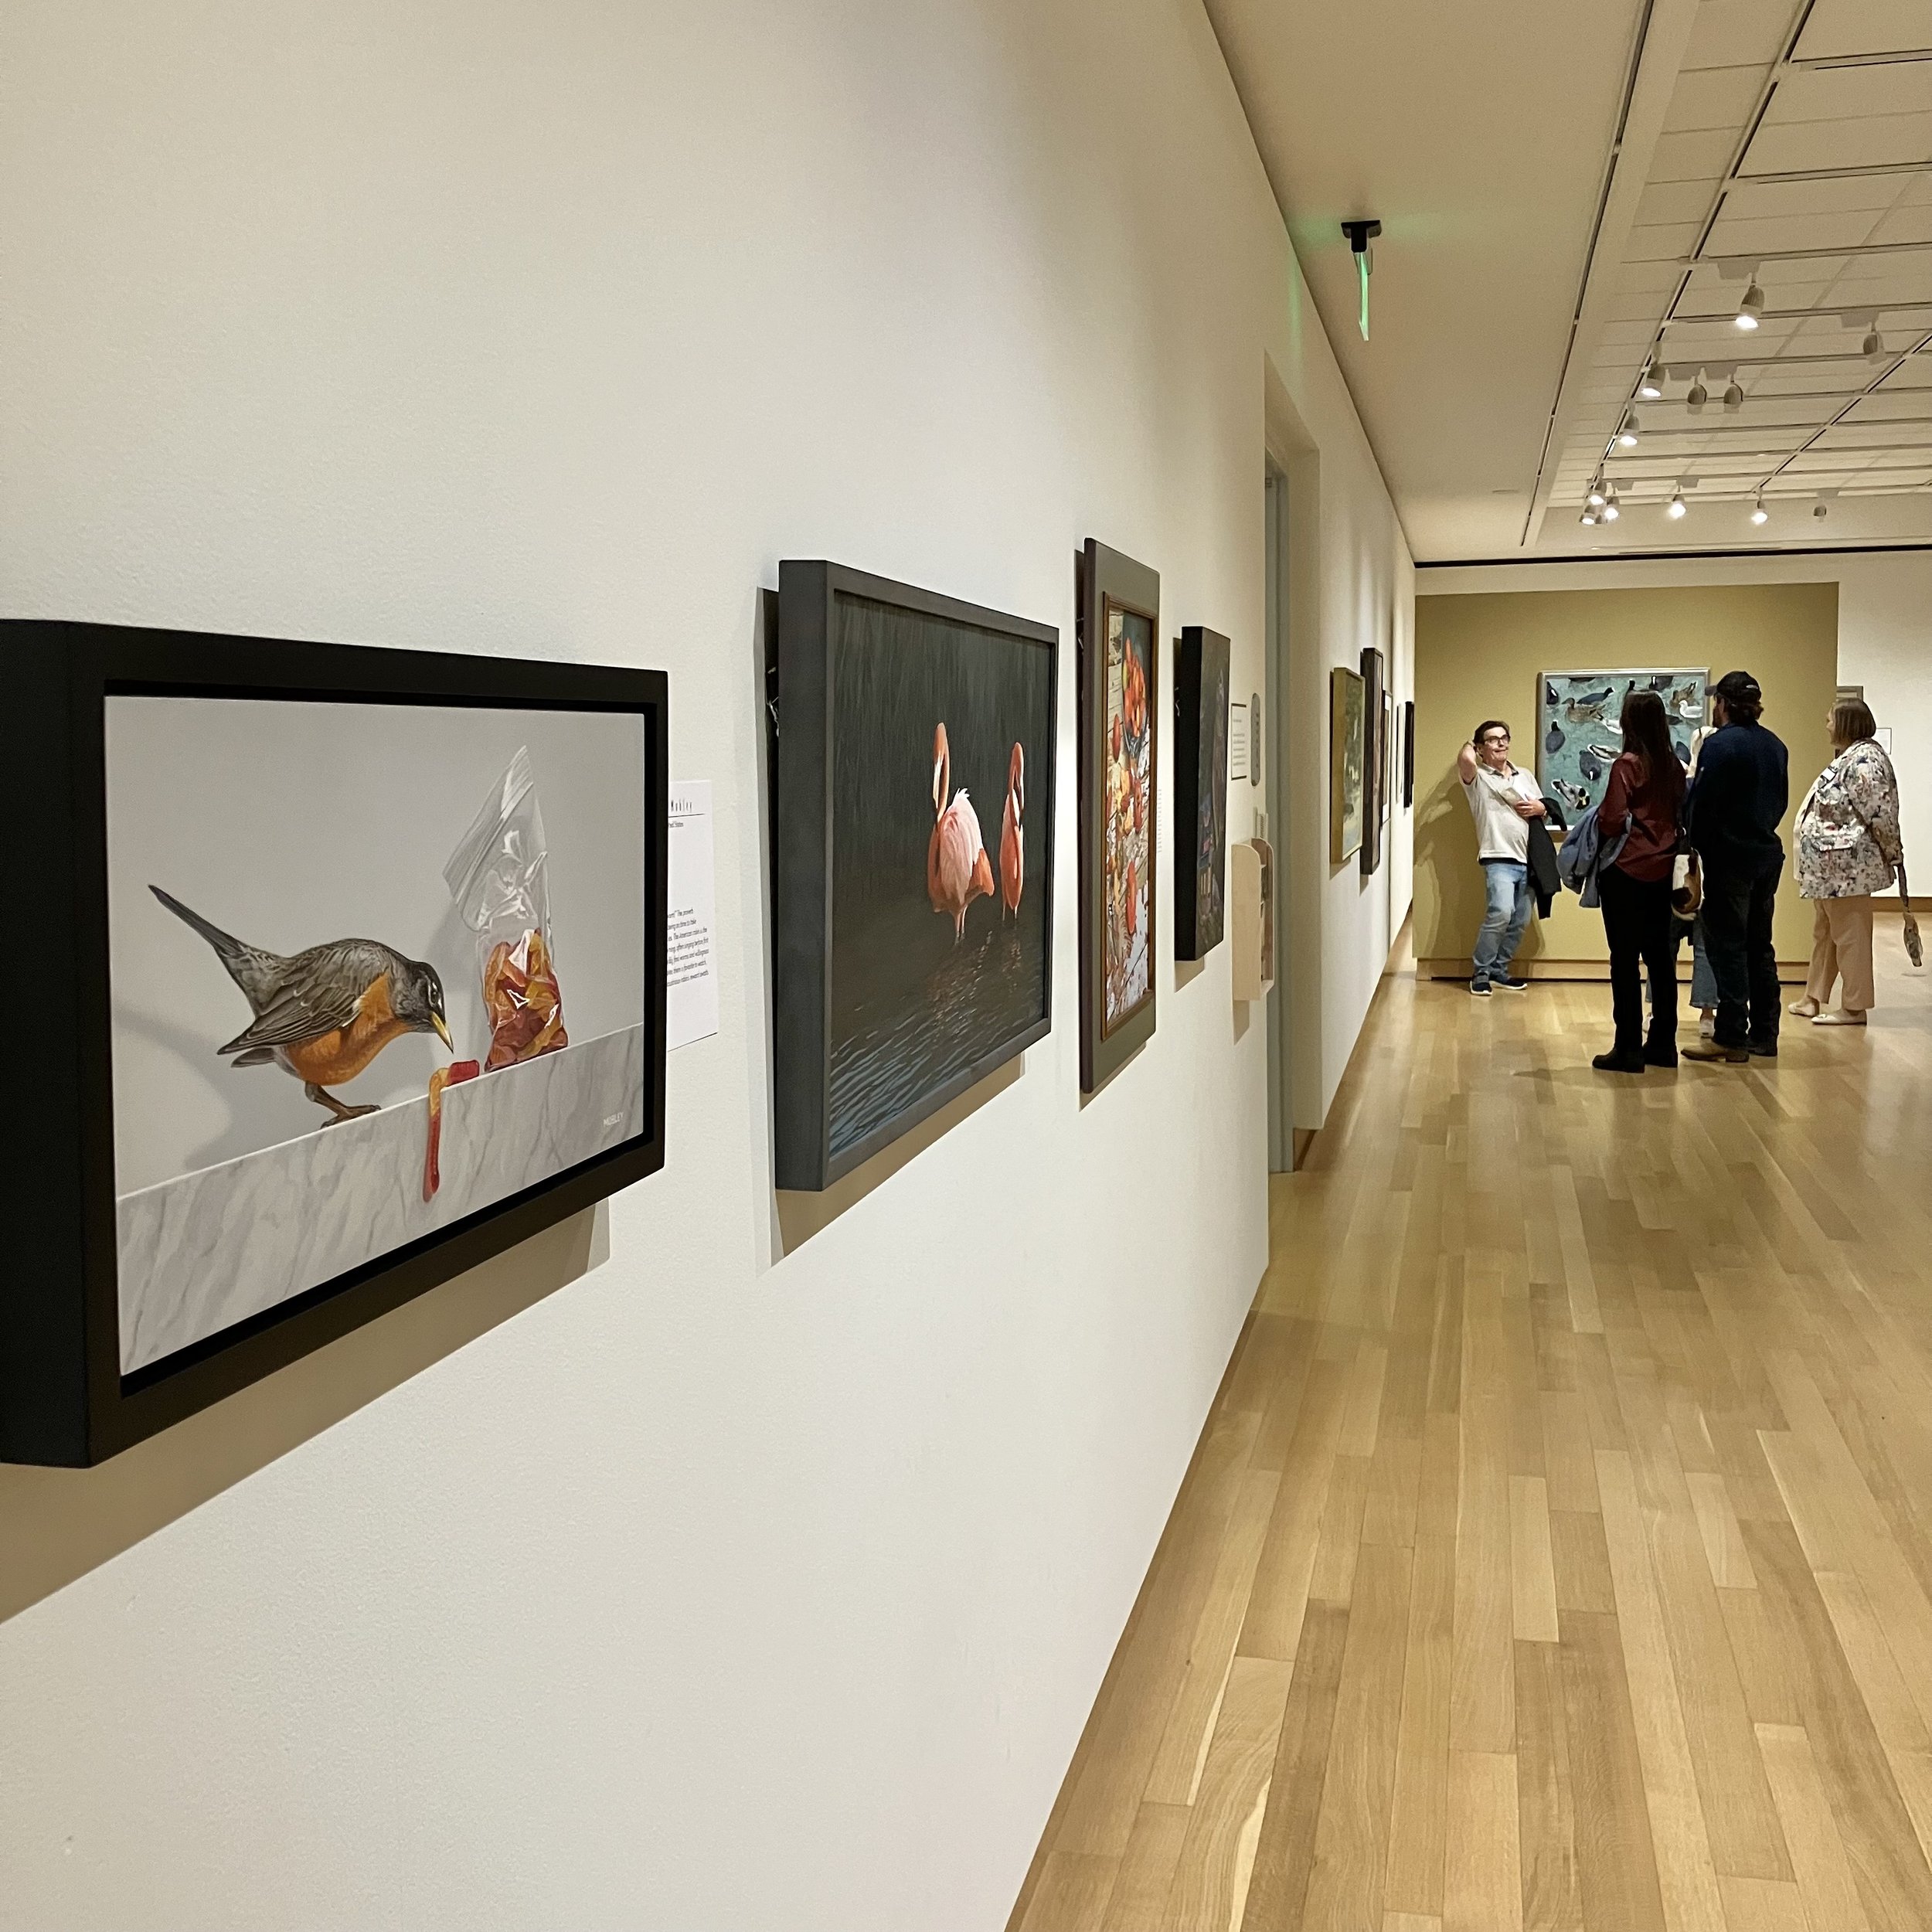
I had the wonderful honor to have my wood engraving “Heronry” selected for inclusion in the “Birds in Art Fifty” Exhibition at the Leigh Yawkey Woodson Art Museum, located in Wausau Wisconsin. For my first time entry in the annual showing, it was a good year to be selected, as the Museum was celebrating it’s 50th ”Birds in Art” Exhibition.
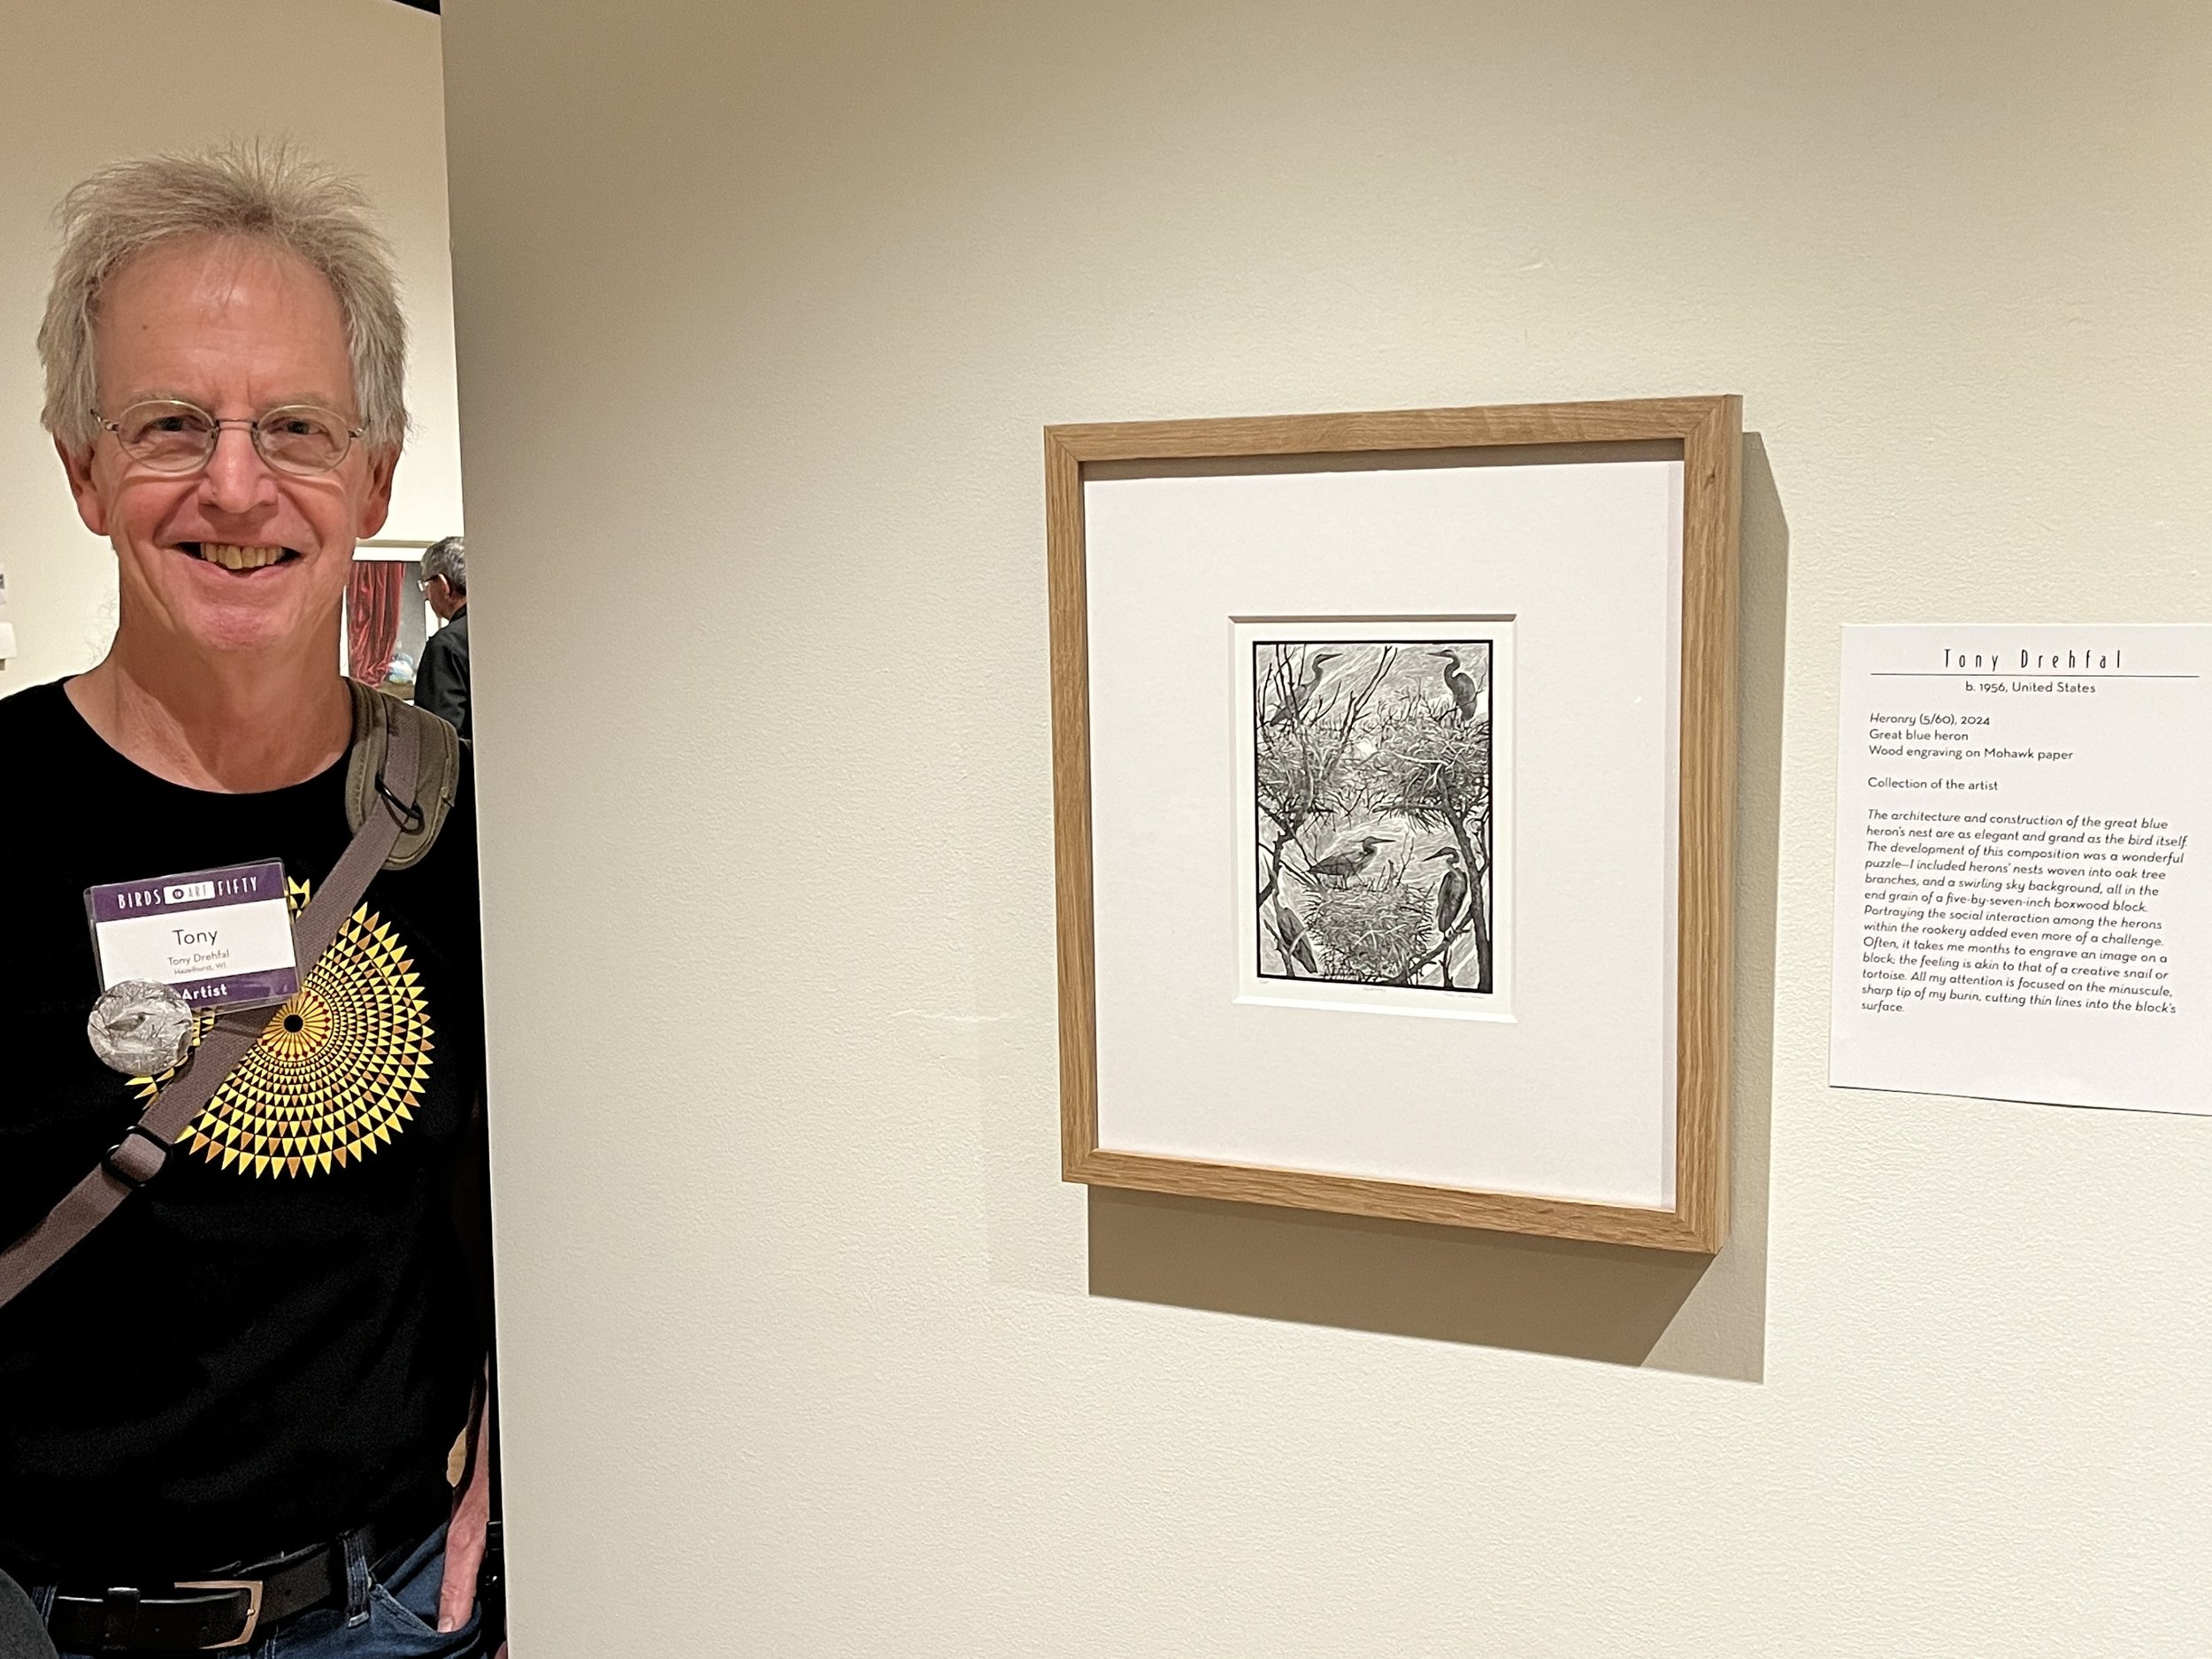
A college days friend Dani Roach took this photo during the Exhibit’s opening weekend.

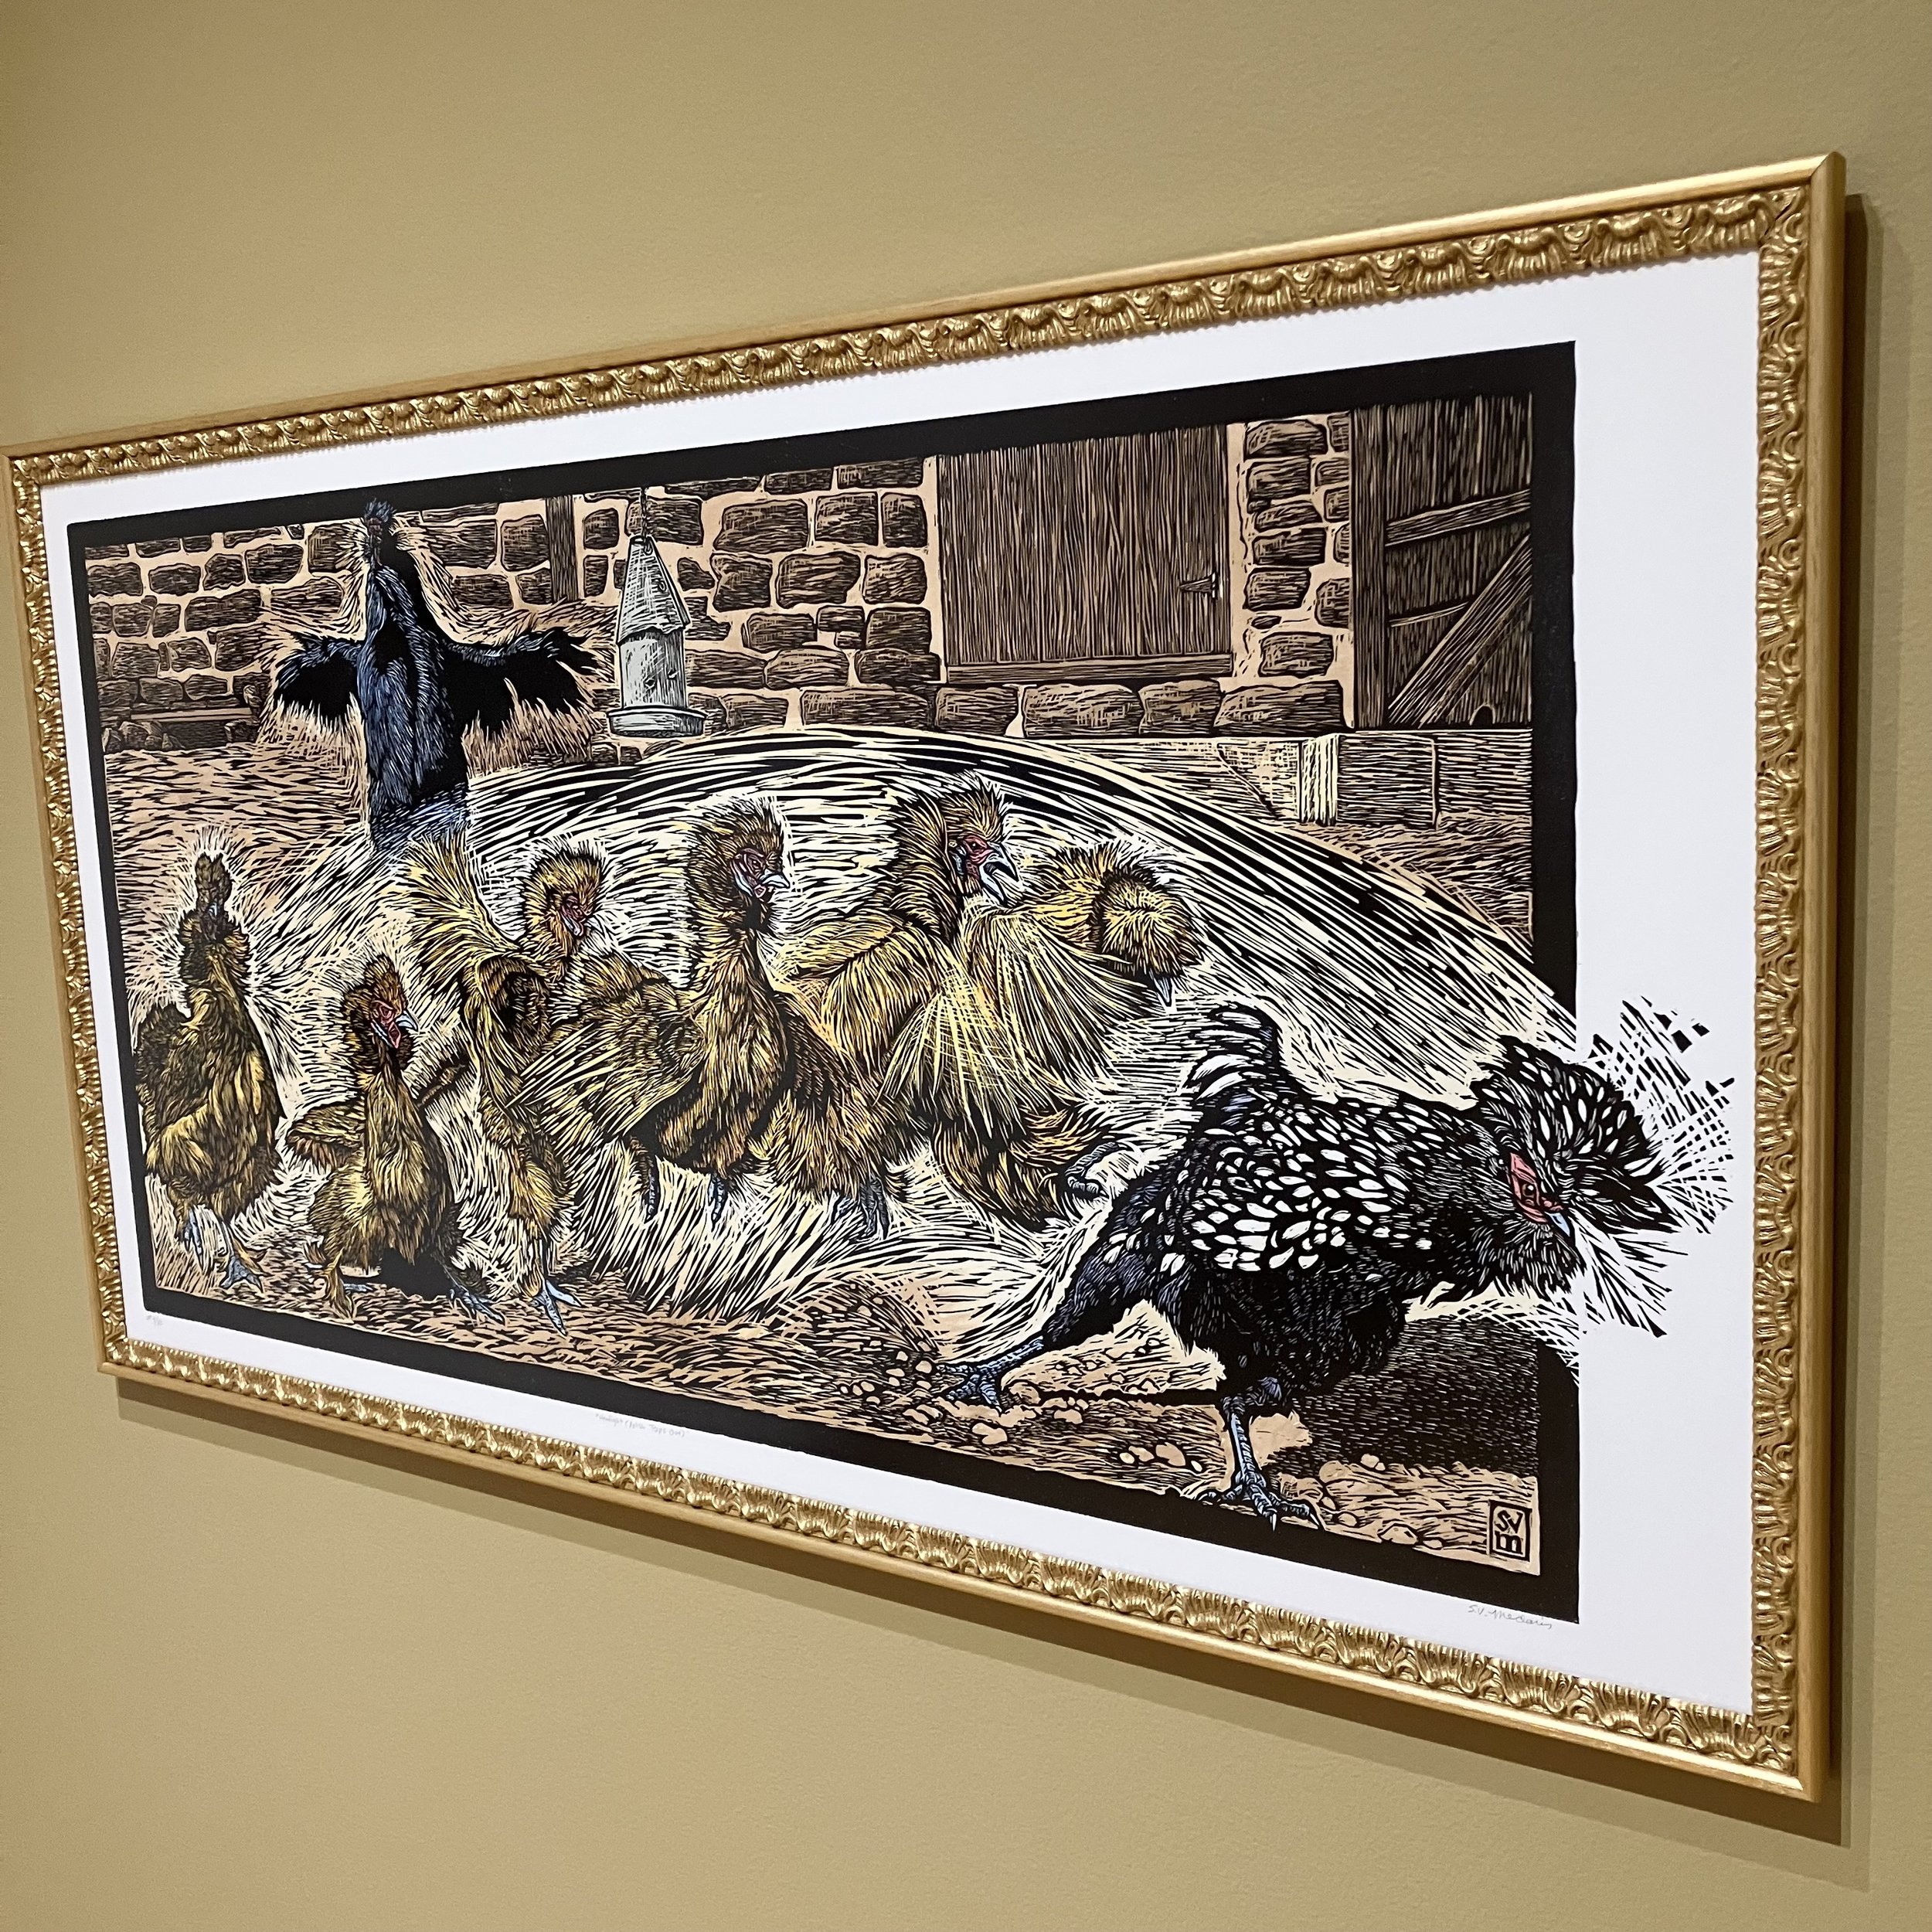
Here, my framing effort, using a simple oak frame.
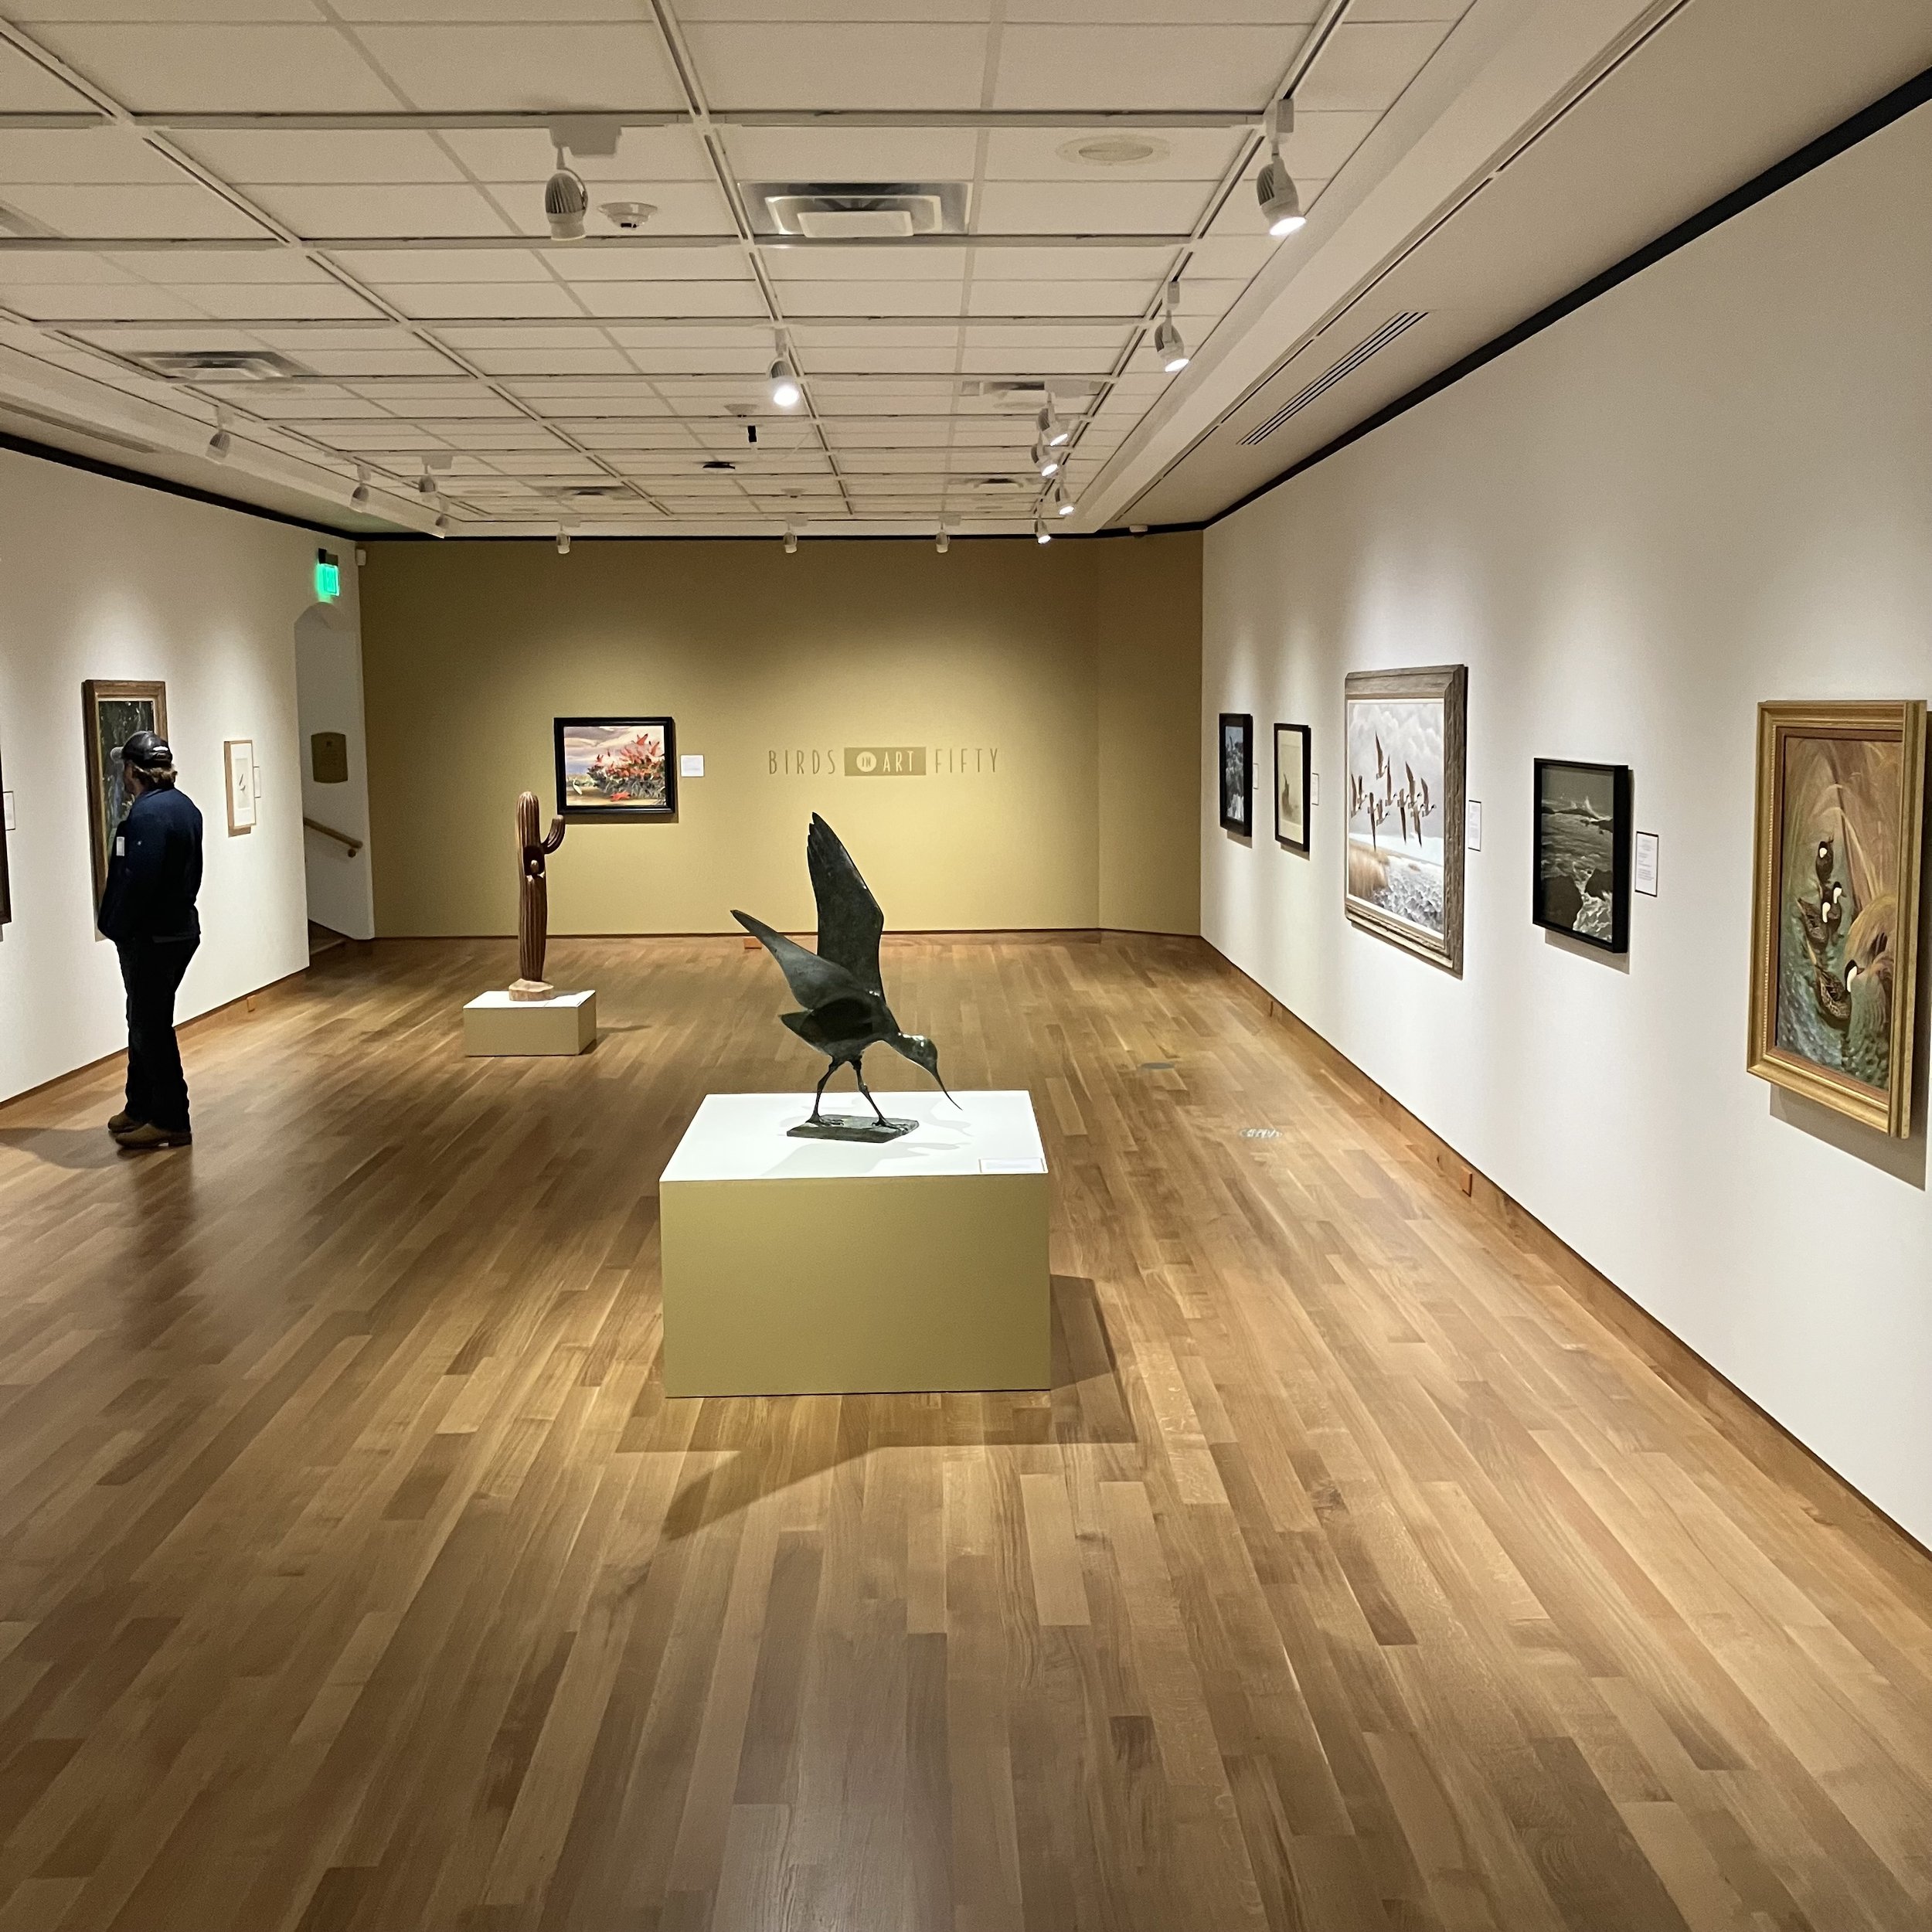
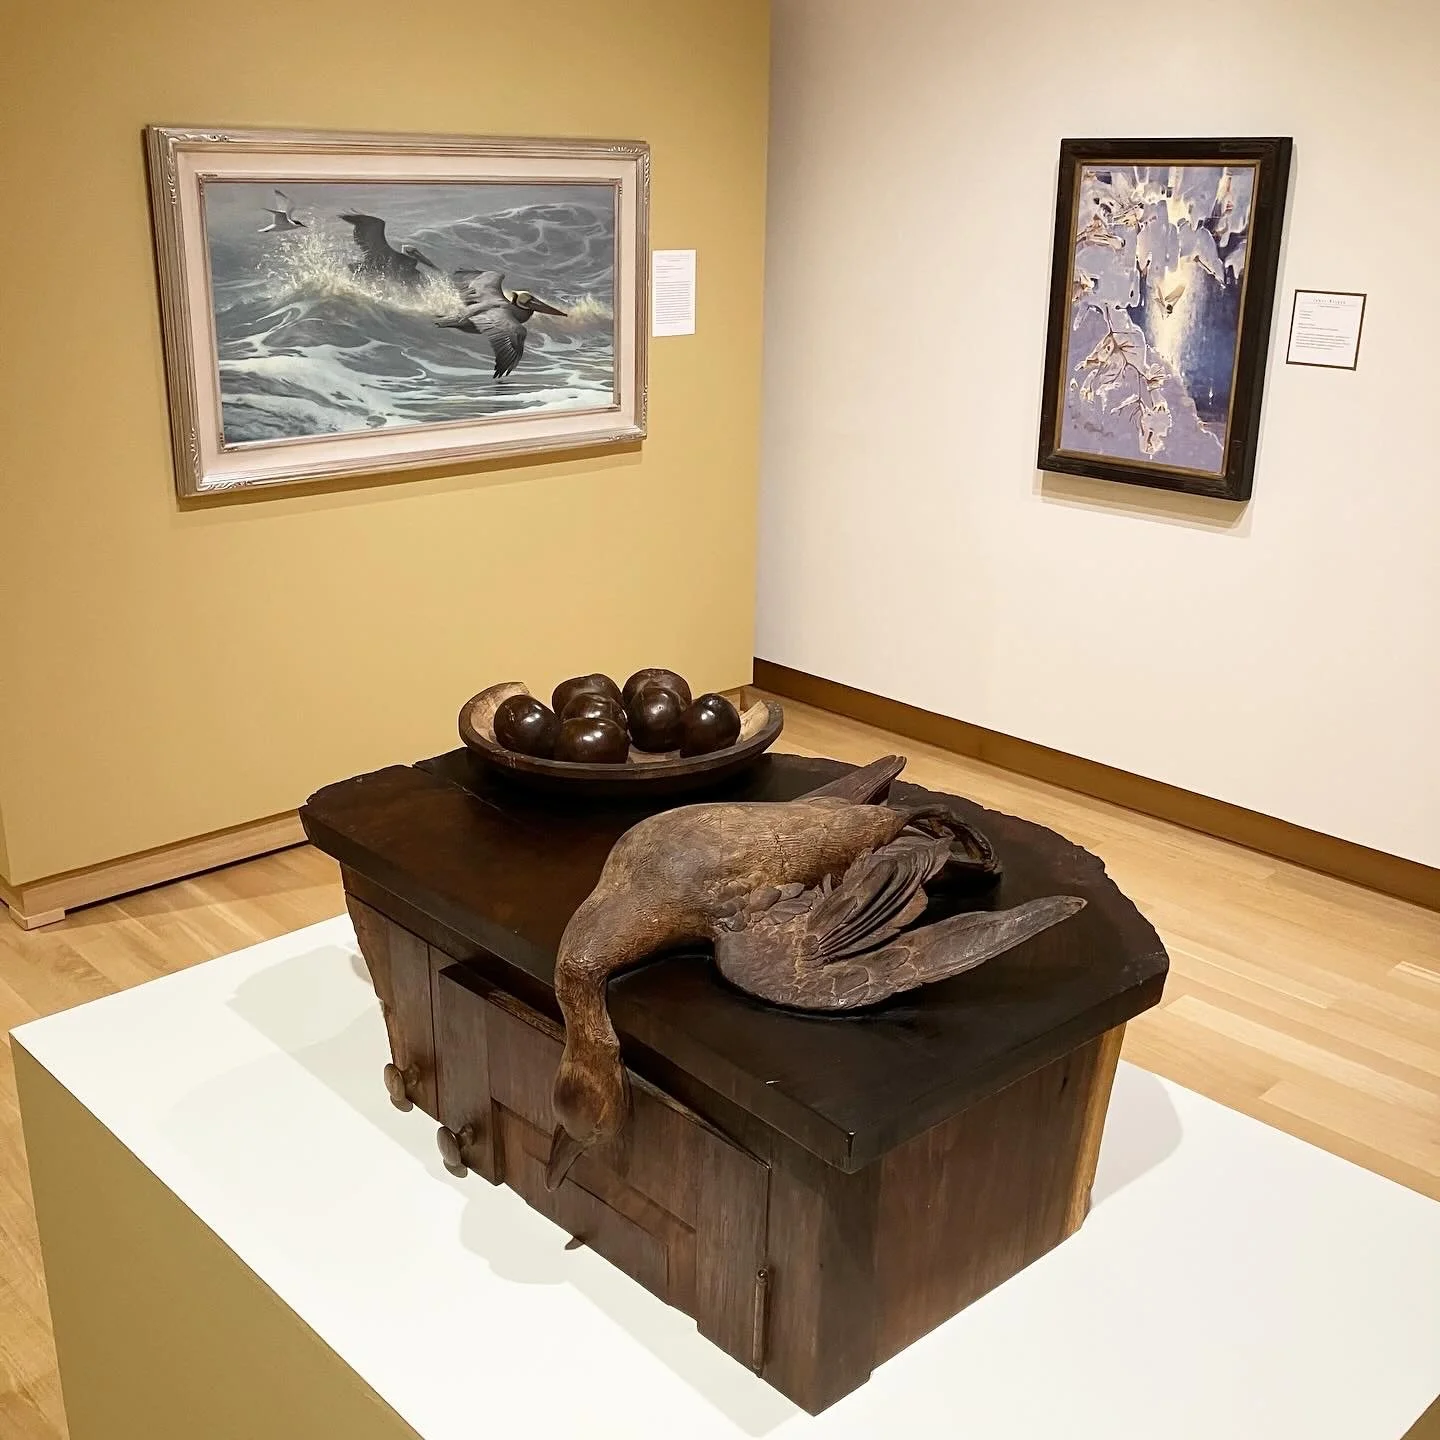
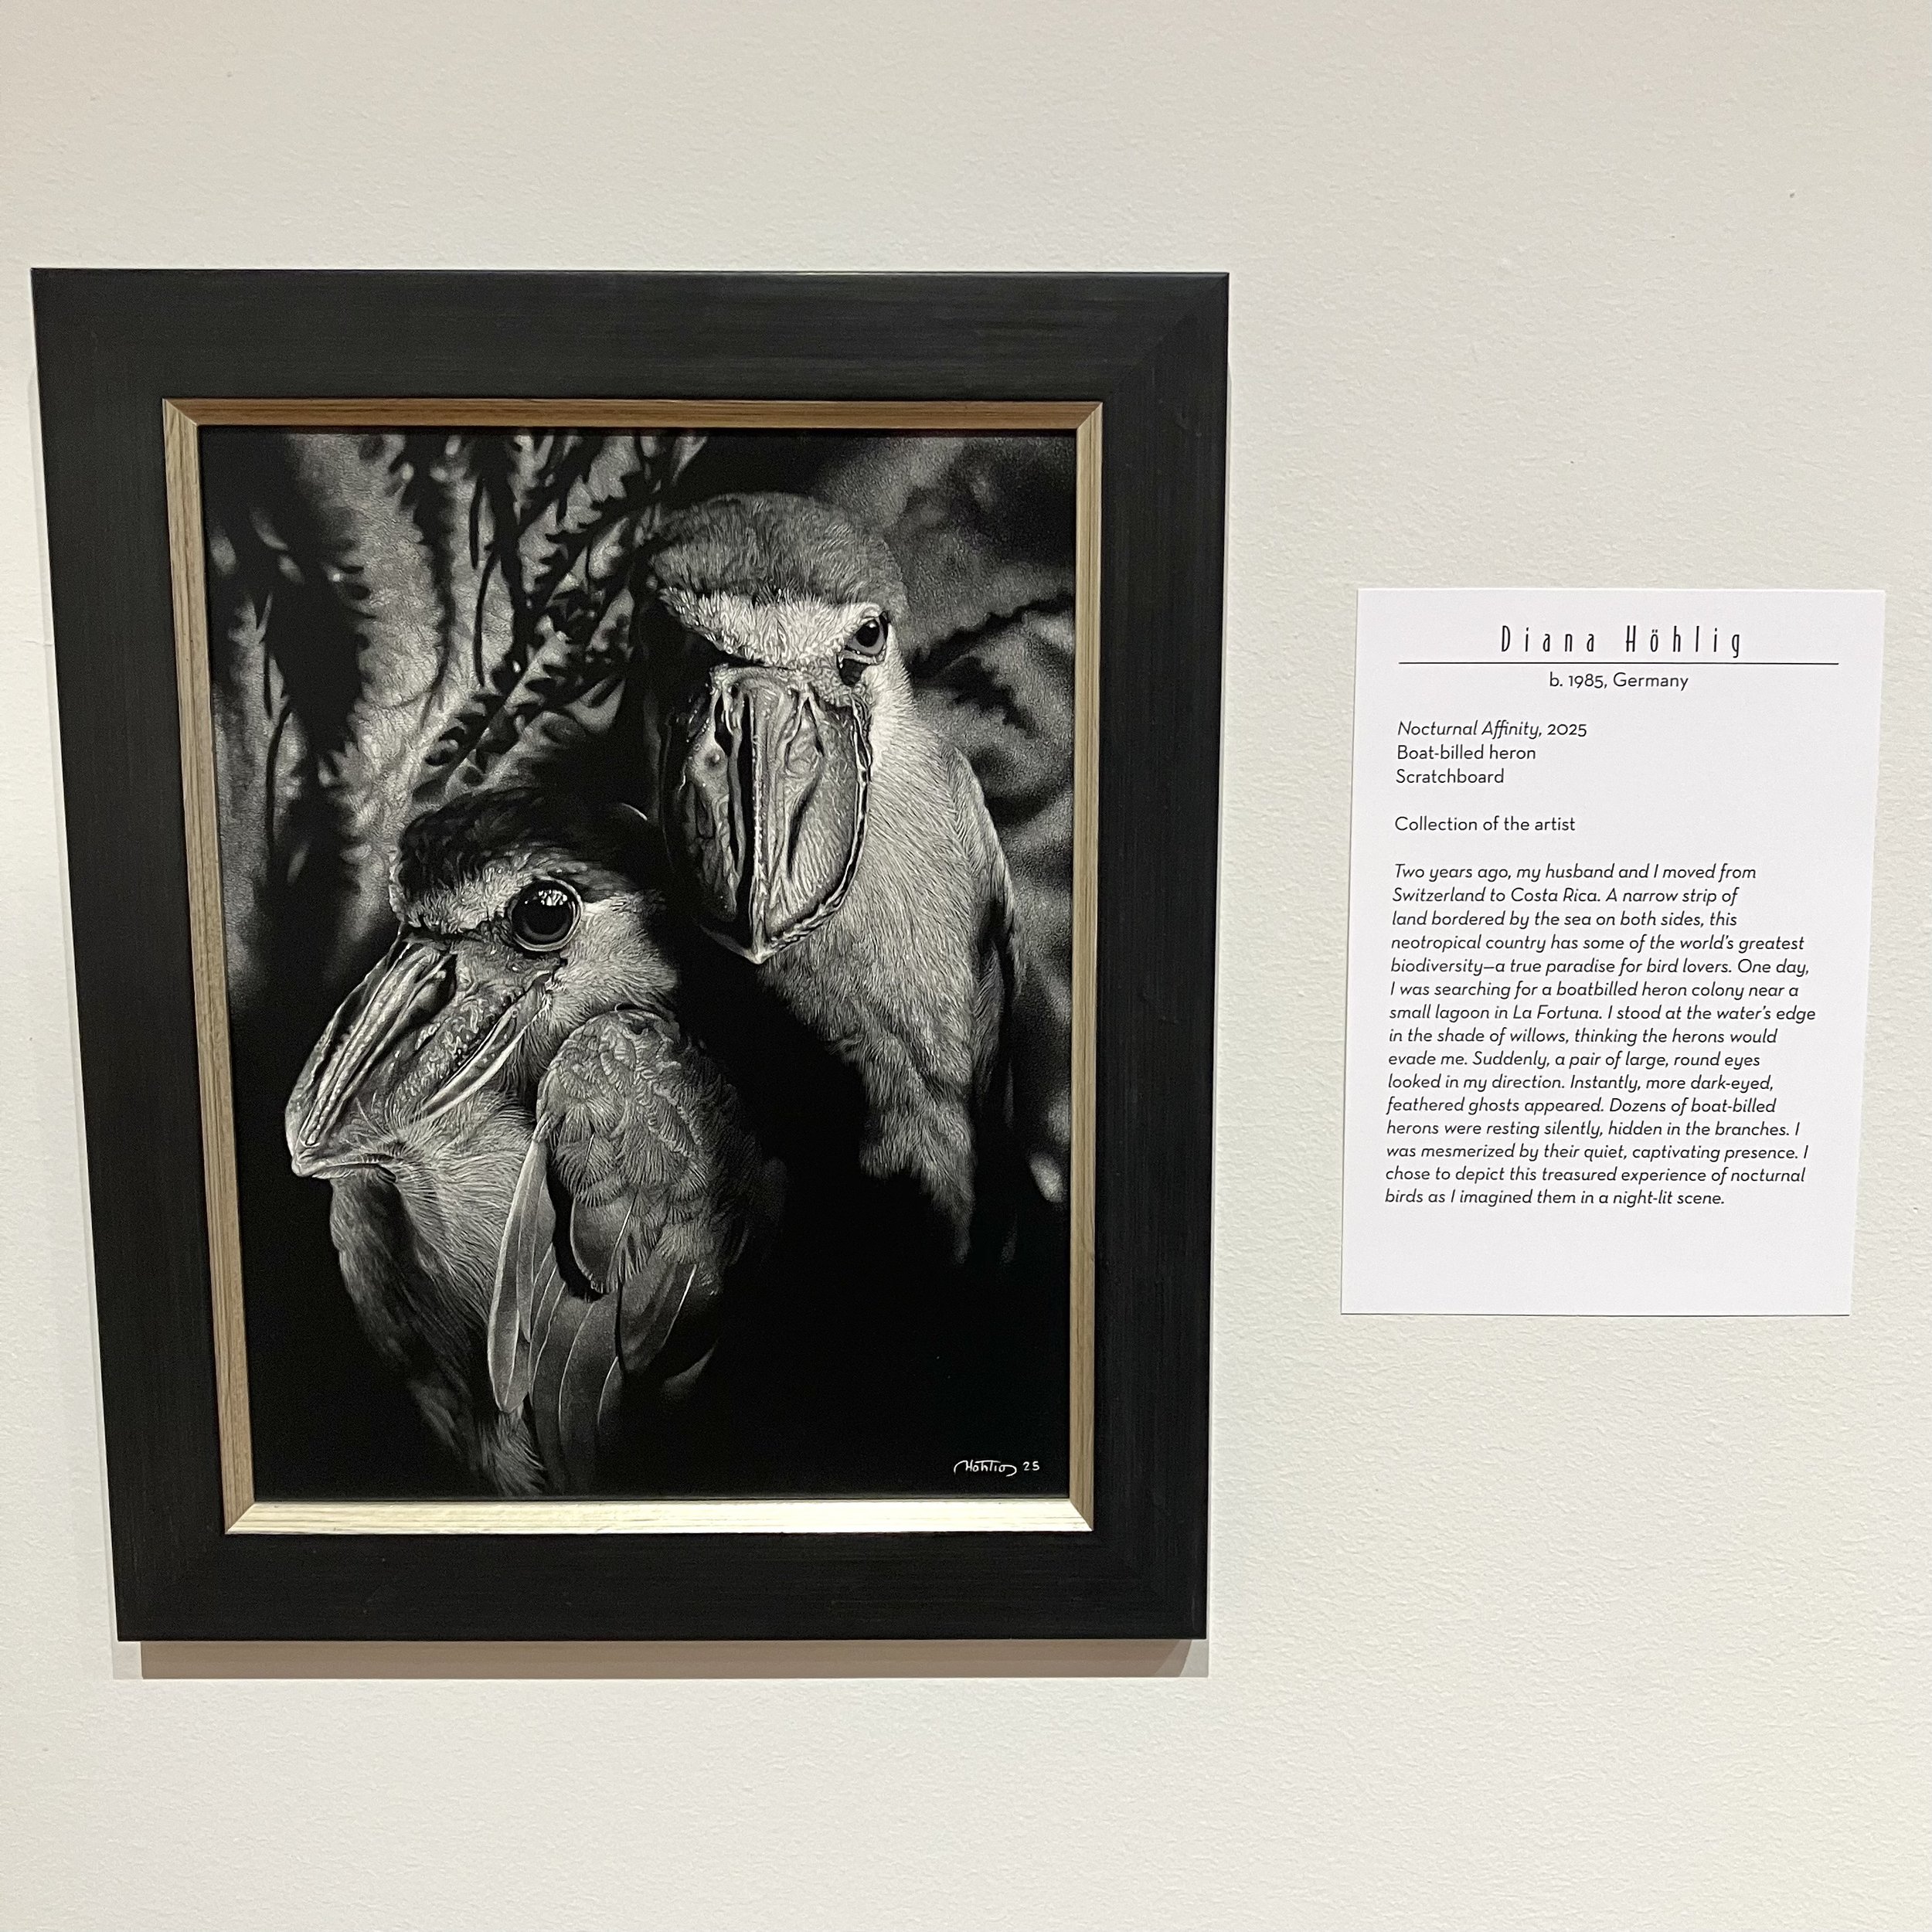
Here, a few more photos of the Exhibit.