Newcastle With Chris Daunt

I am posting details of my journey around England out of calendar order. I had the good fortune of spending a few days with Chris Daunt, who I met years ago at a Wood Engravers’ Network (WEN) workshop I helped organize. Chris was our guest wood engraver. We have become good friends since then. Here, a few photos, the captions further sharing details . . .

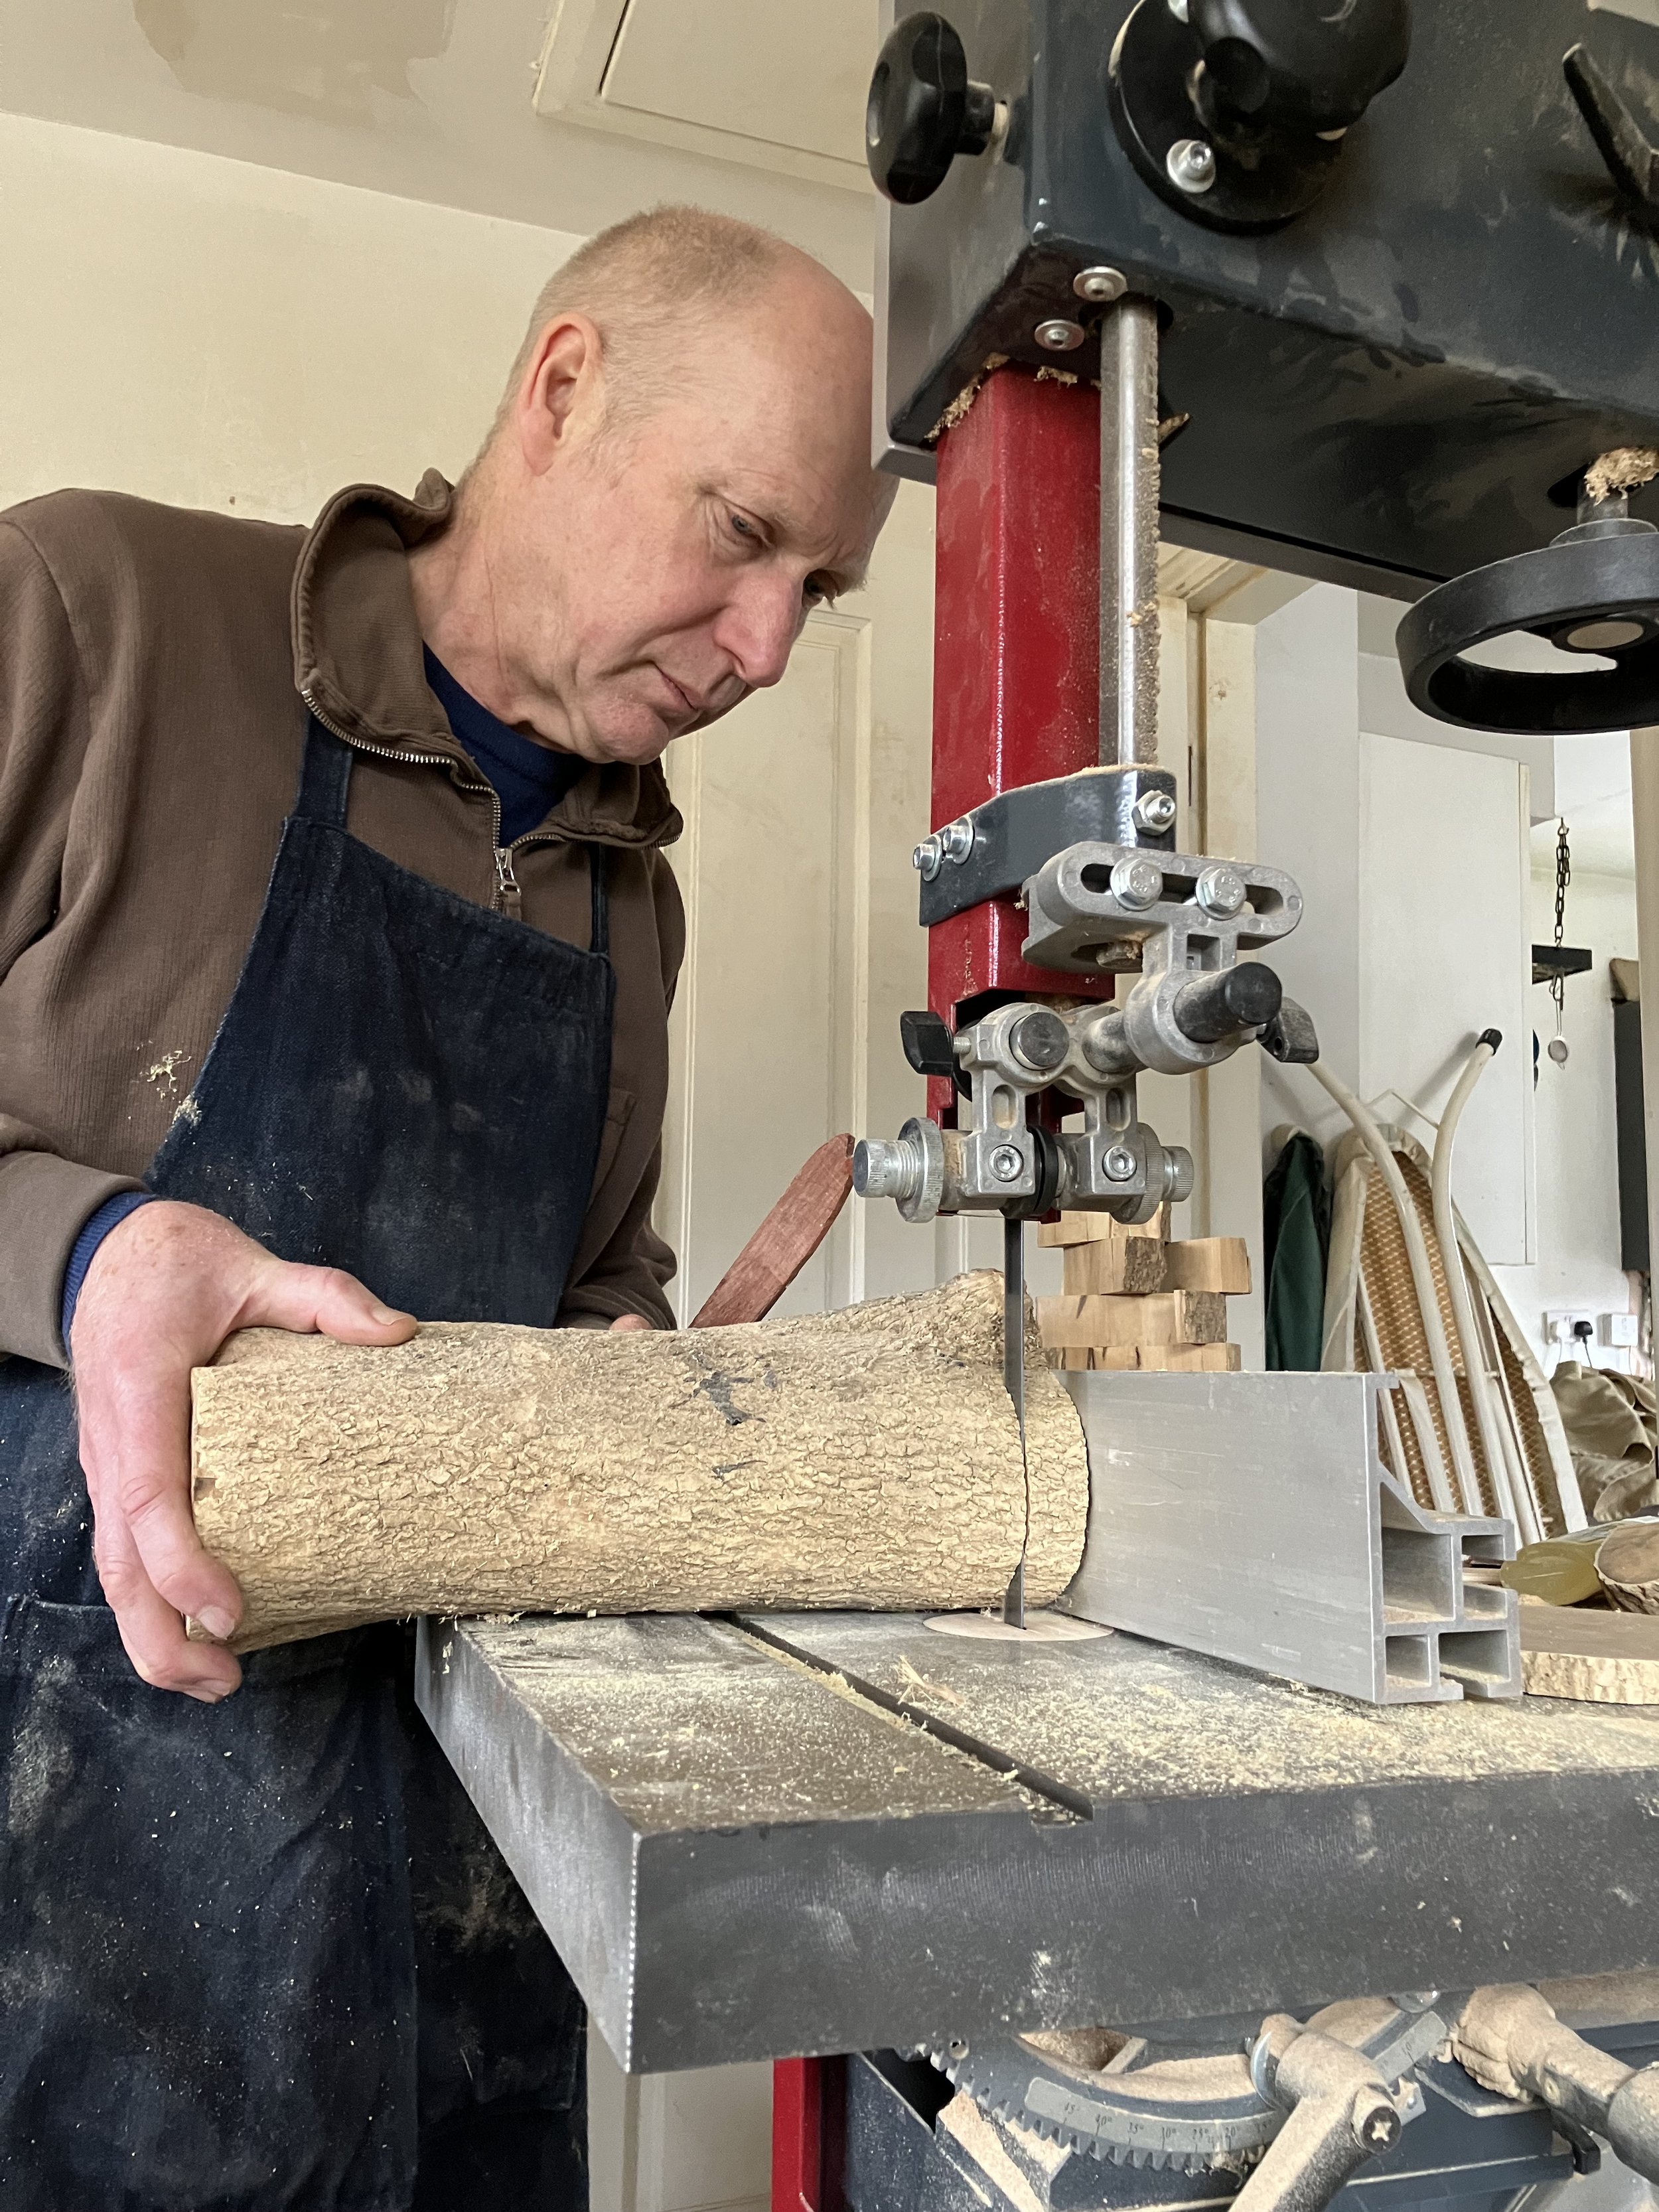
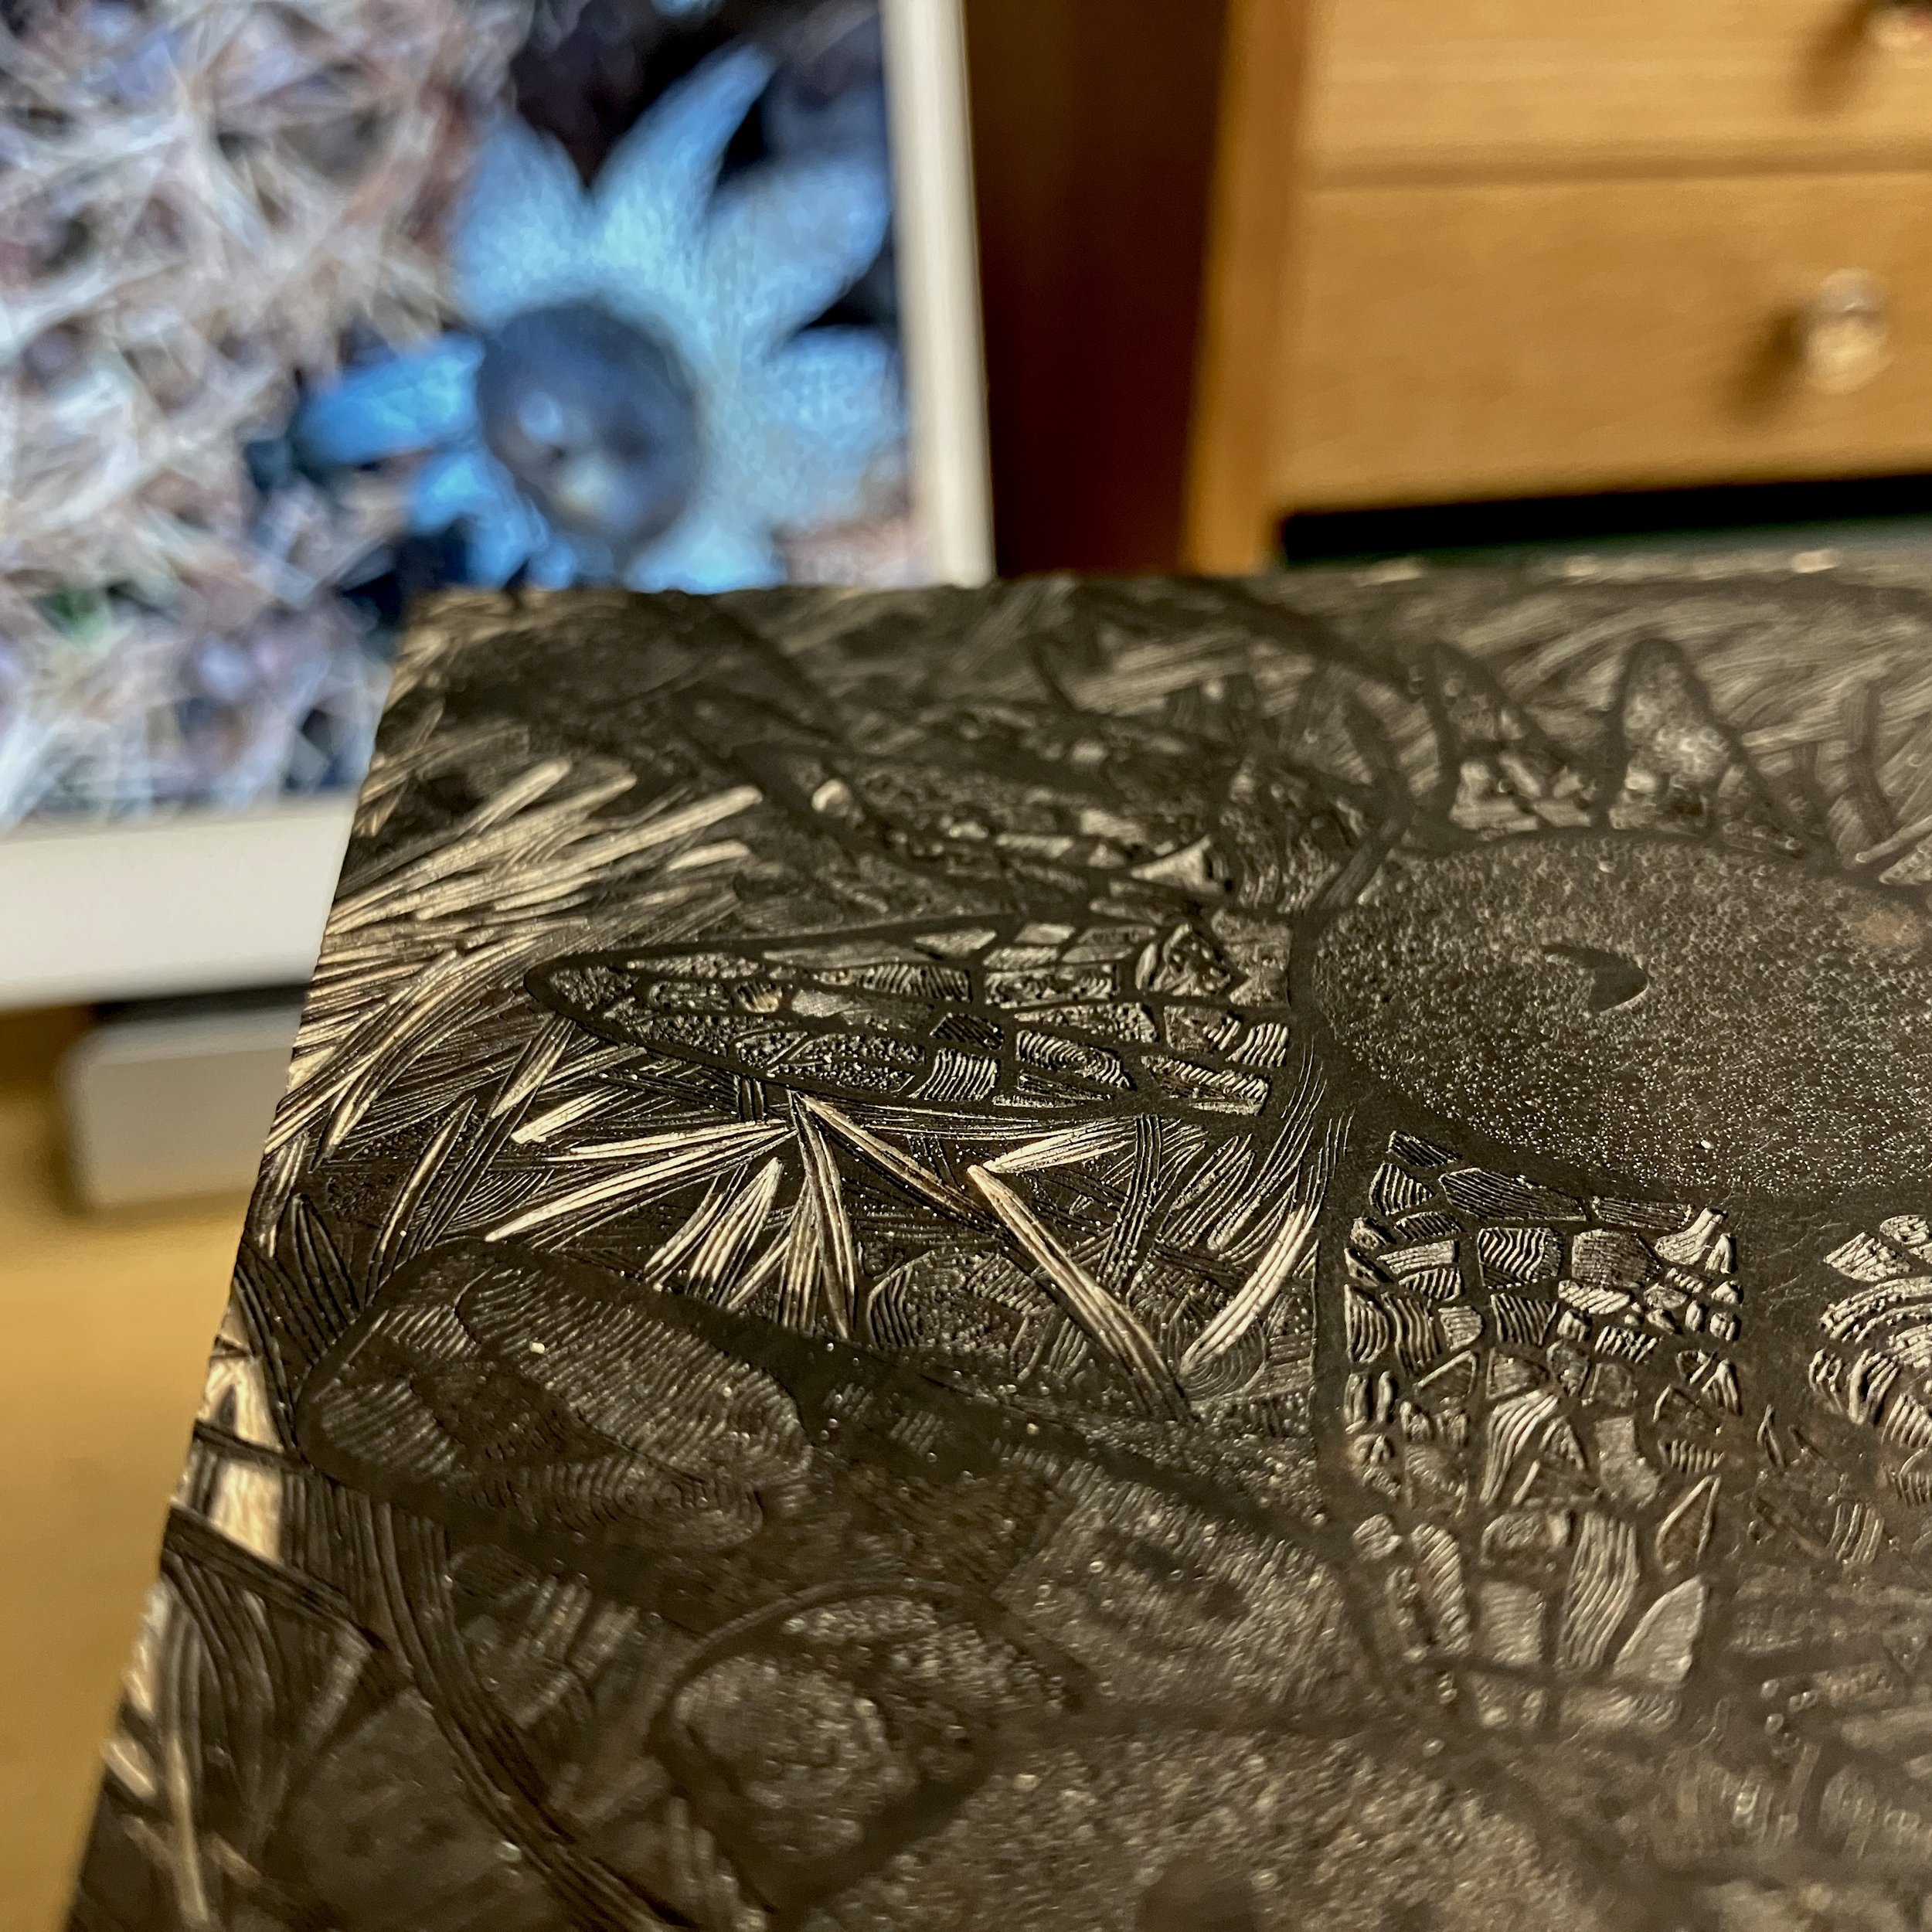
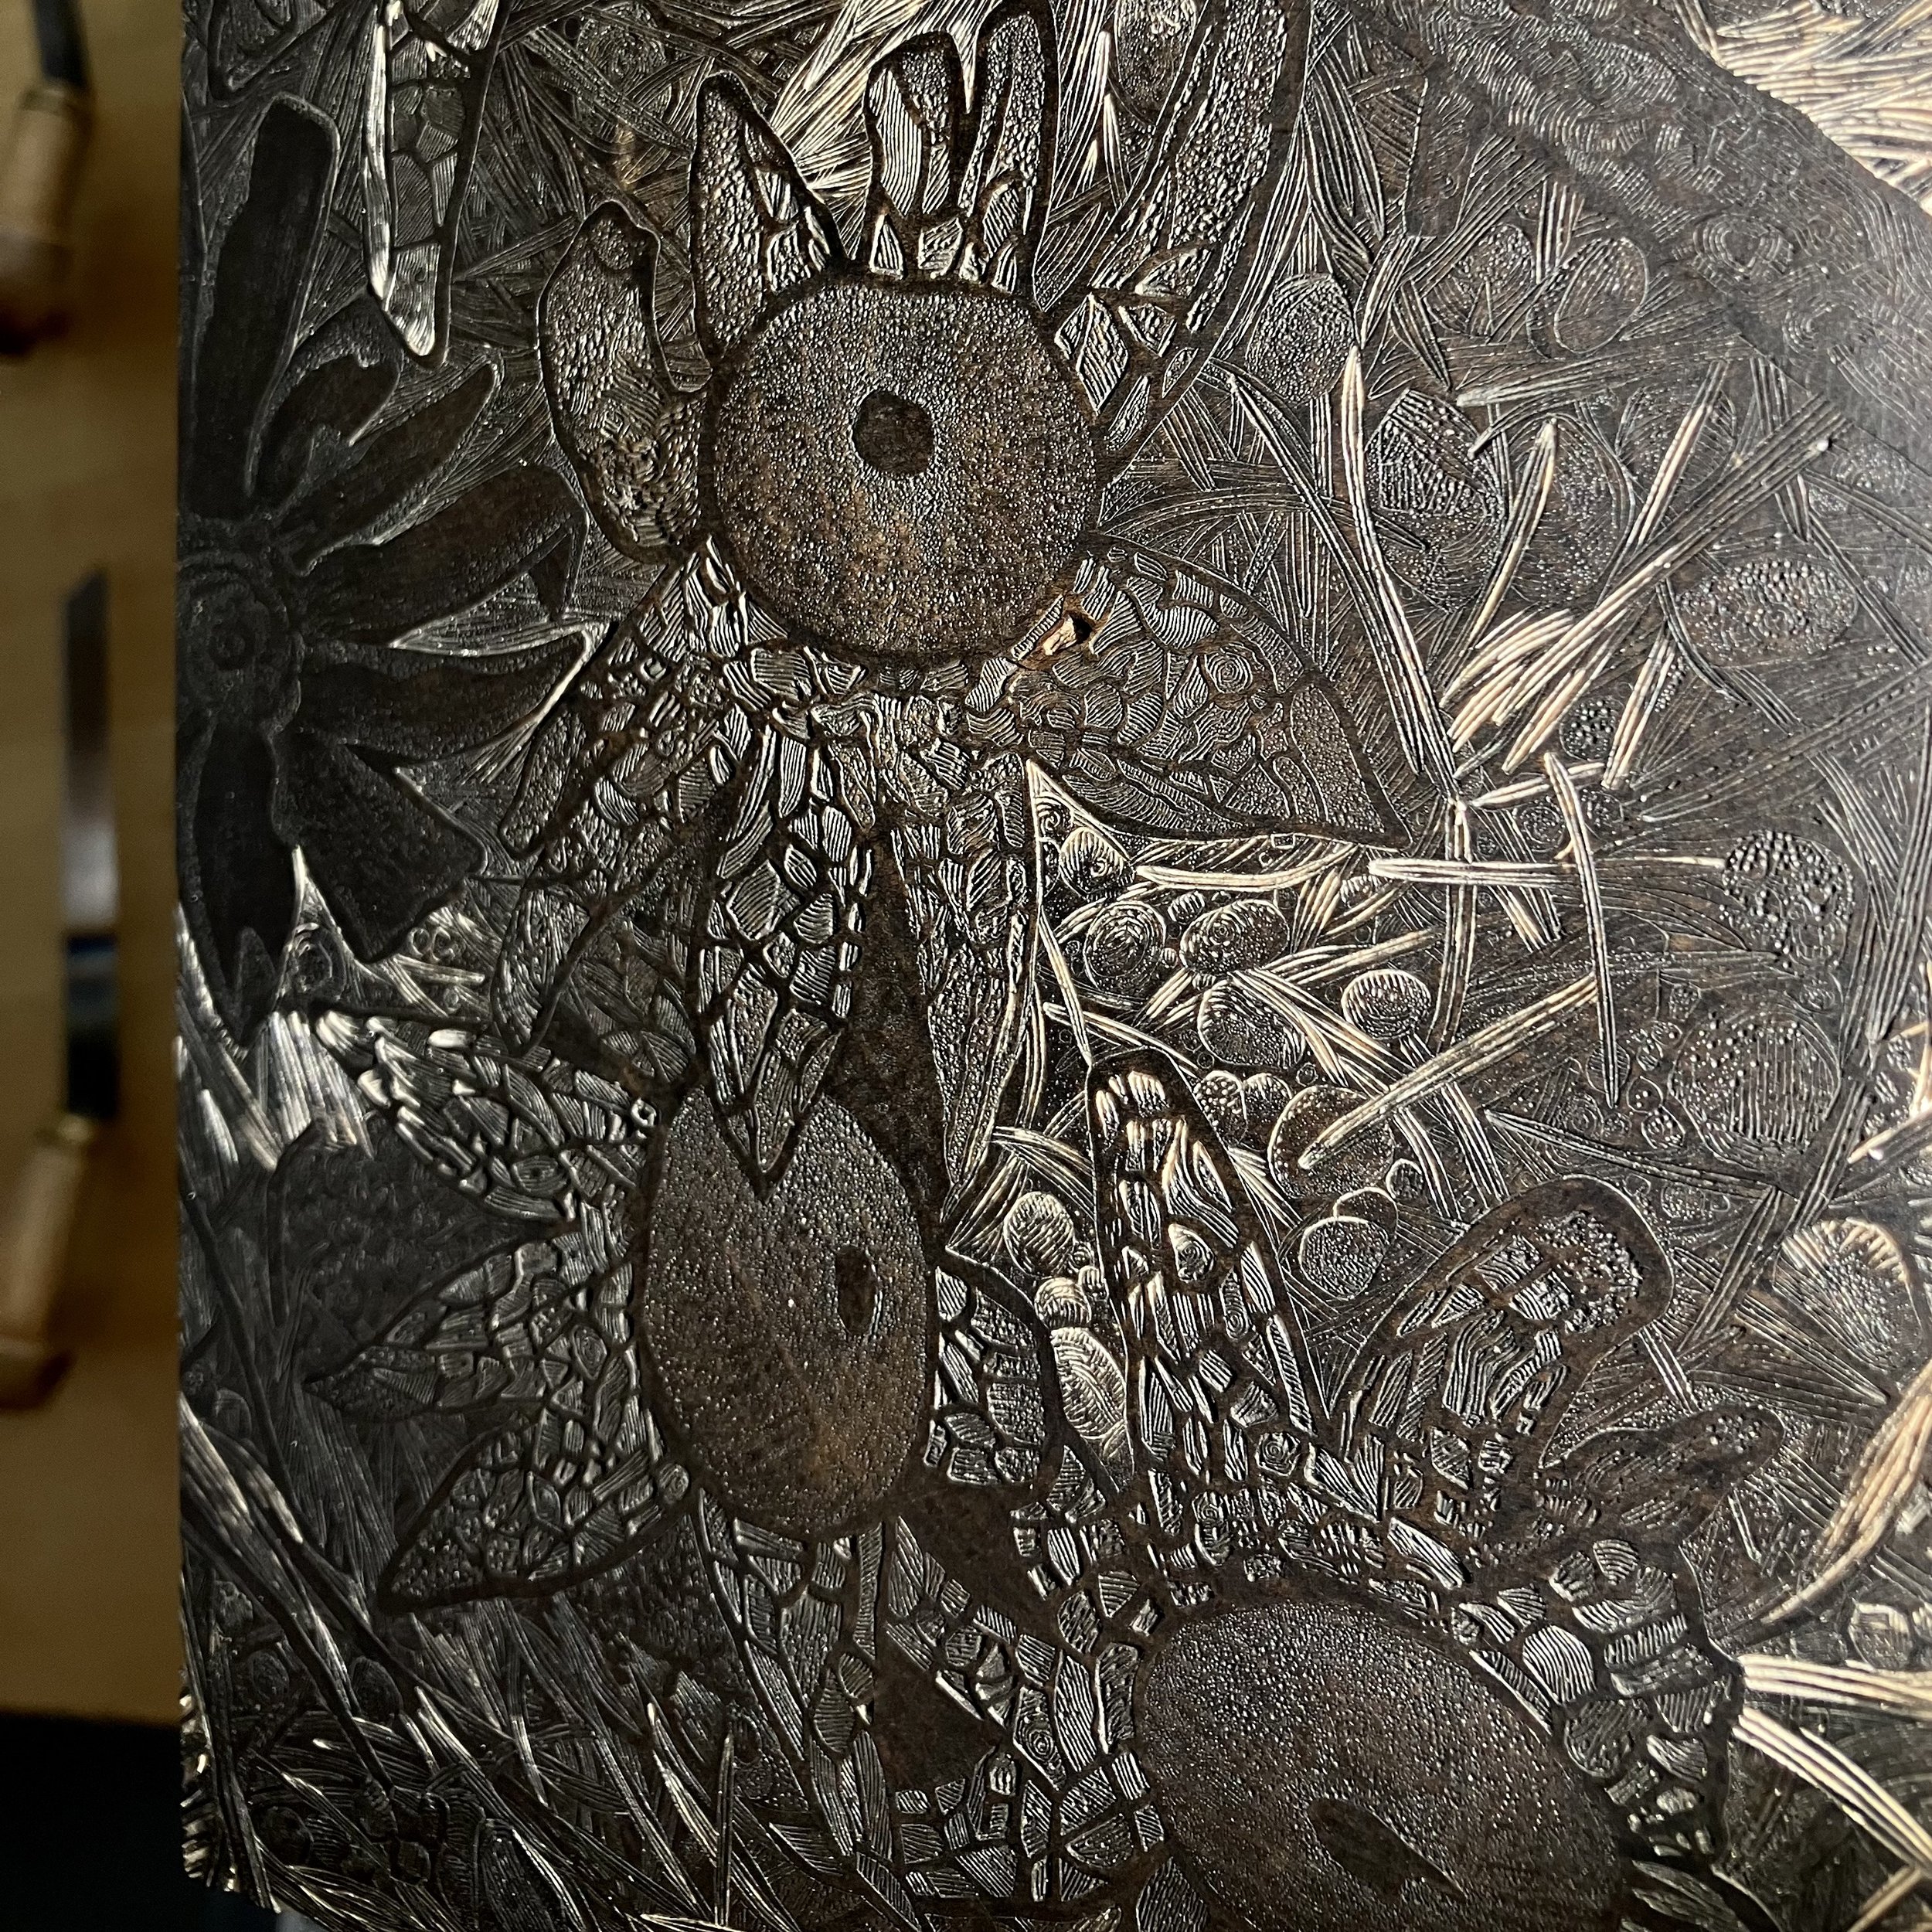
Chris is the end-grain blockmaker of choice for many wood engravers worldwide. I had the opportunity to work with him in his workshop. I learned how to make blocks. (No further details about that process, as I took the blockmaker’s oath, quite similar to the magician’s oath of secrecy, both deal with magical results.) Here is Chris cutting rough rounds of boxwood.

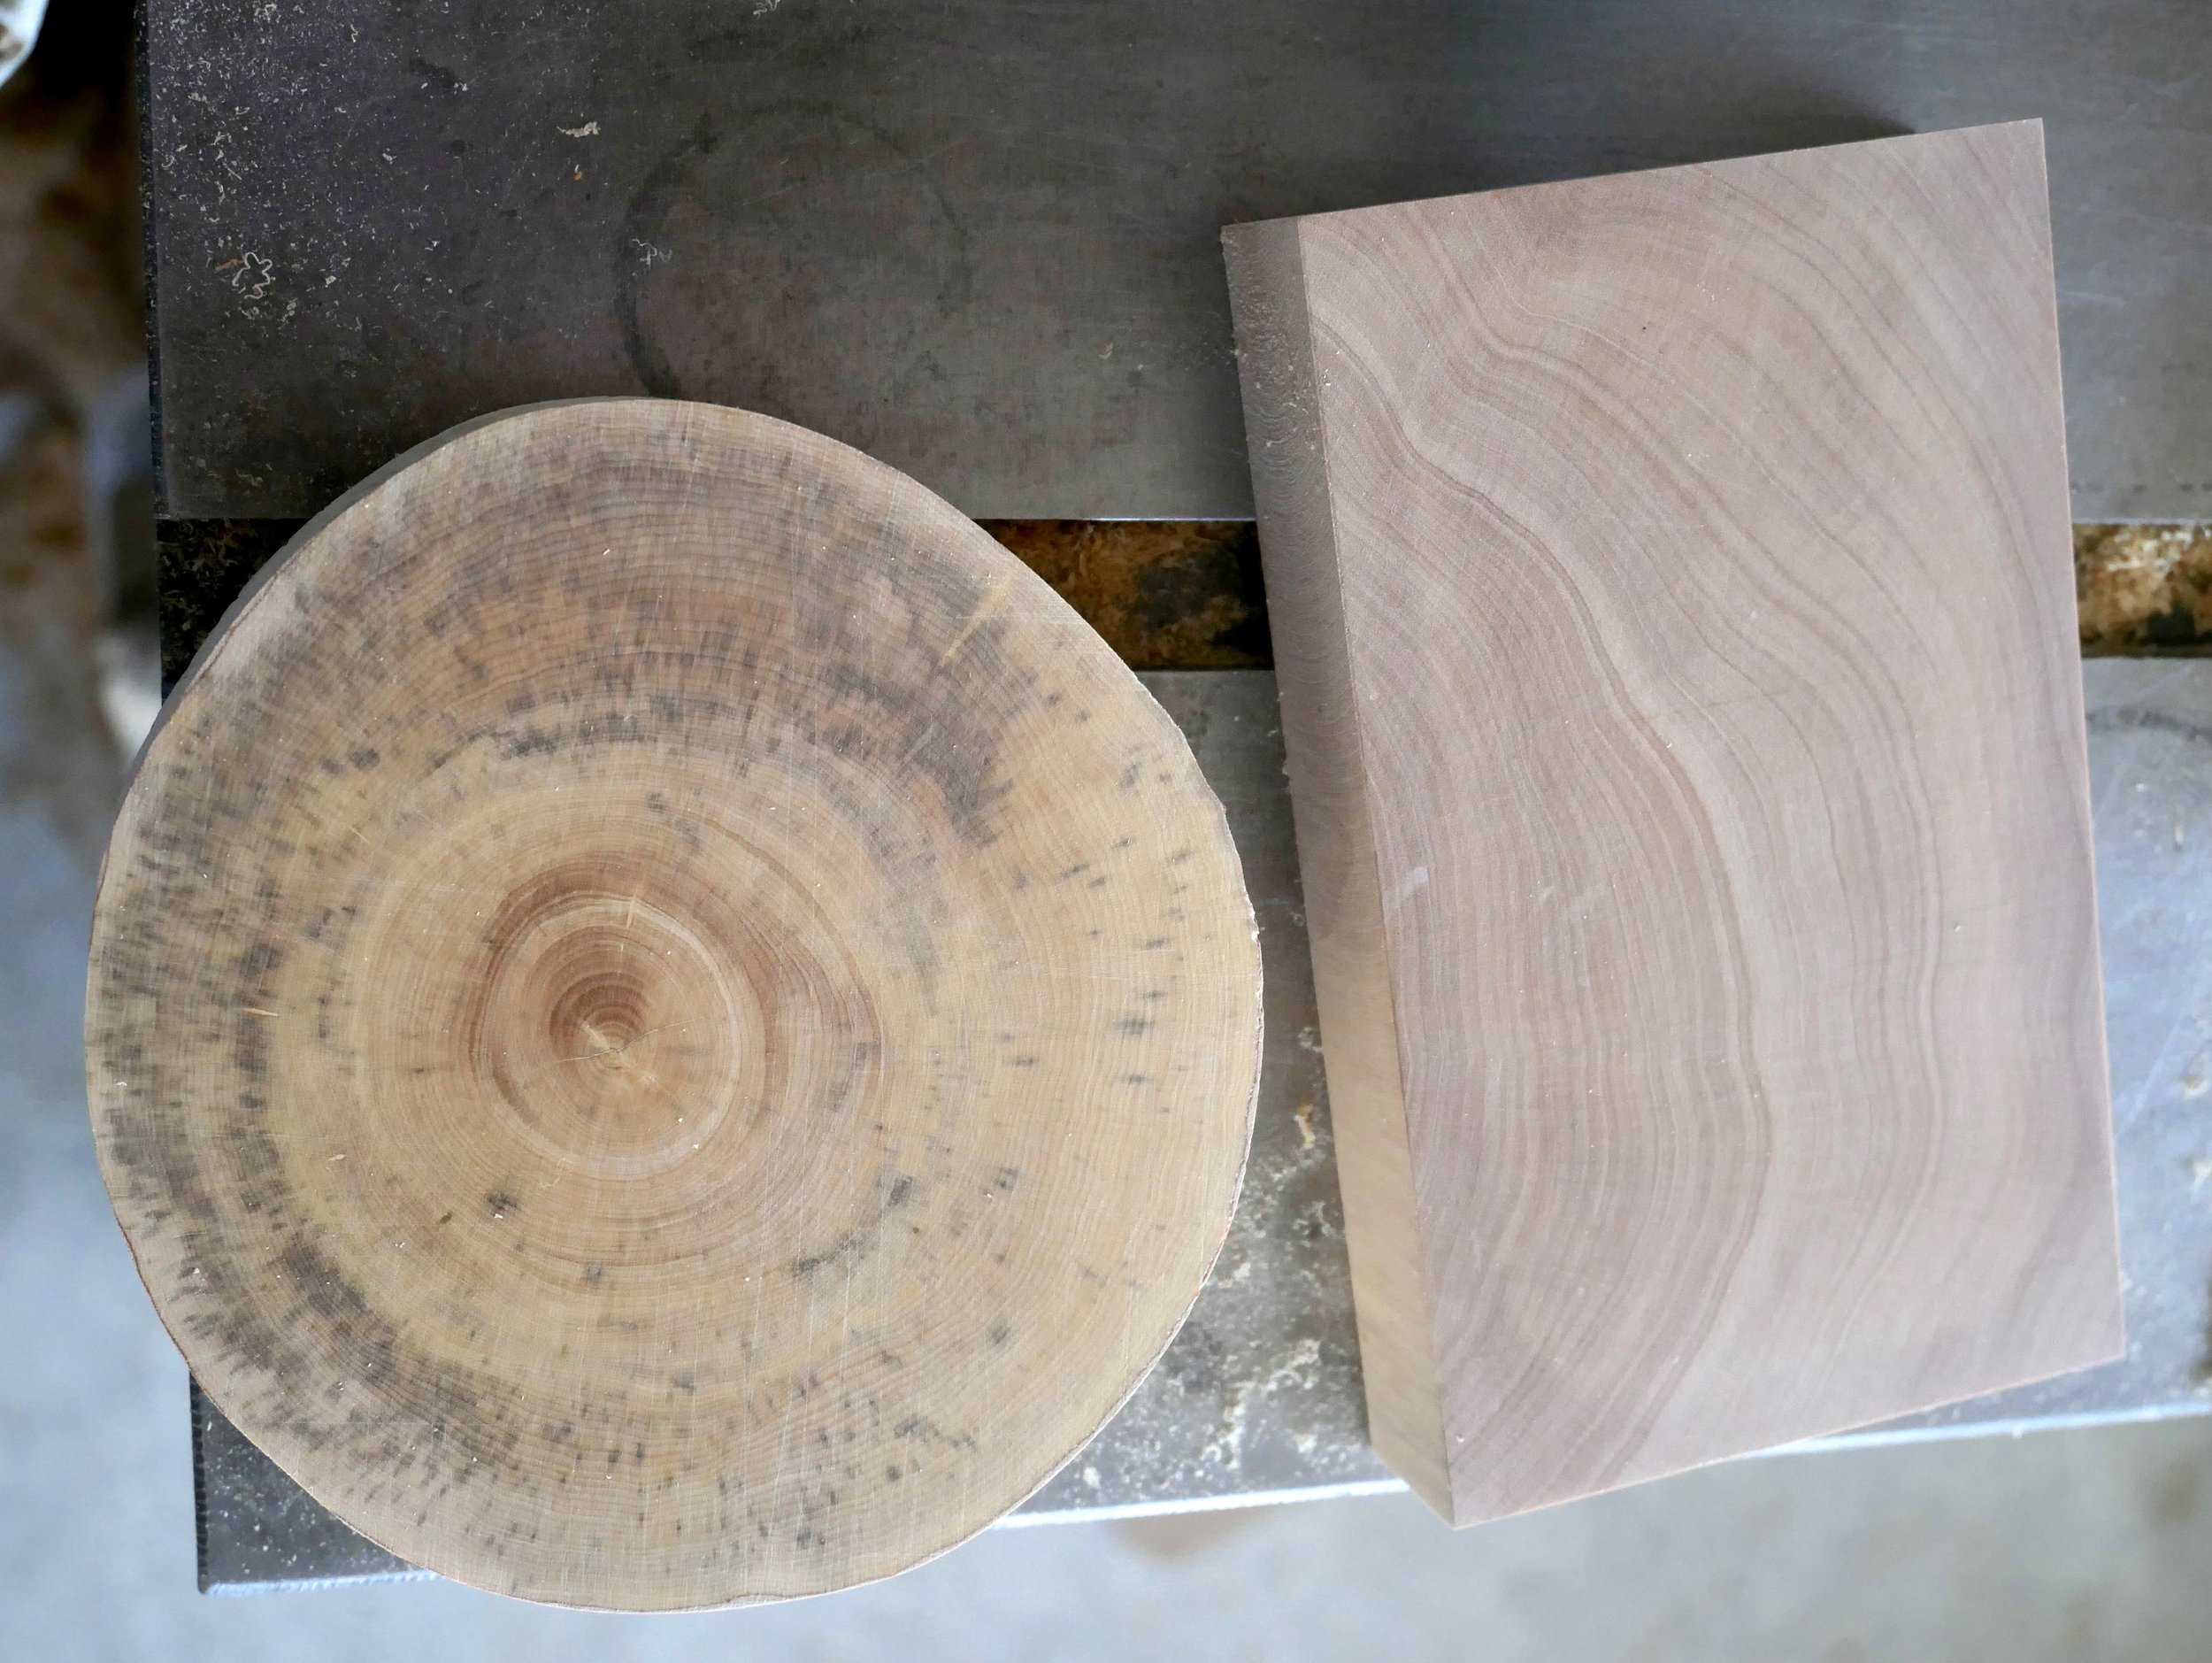
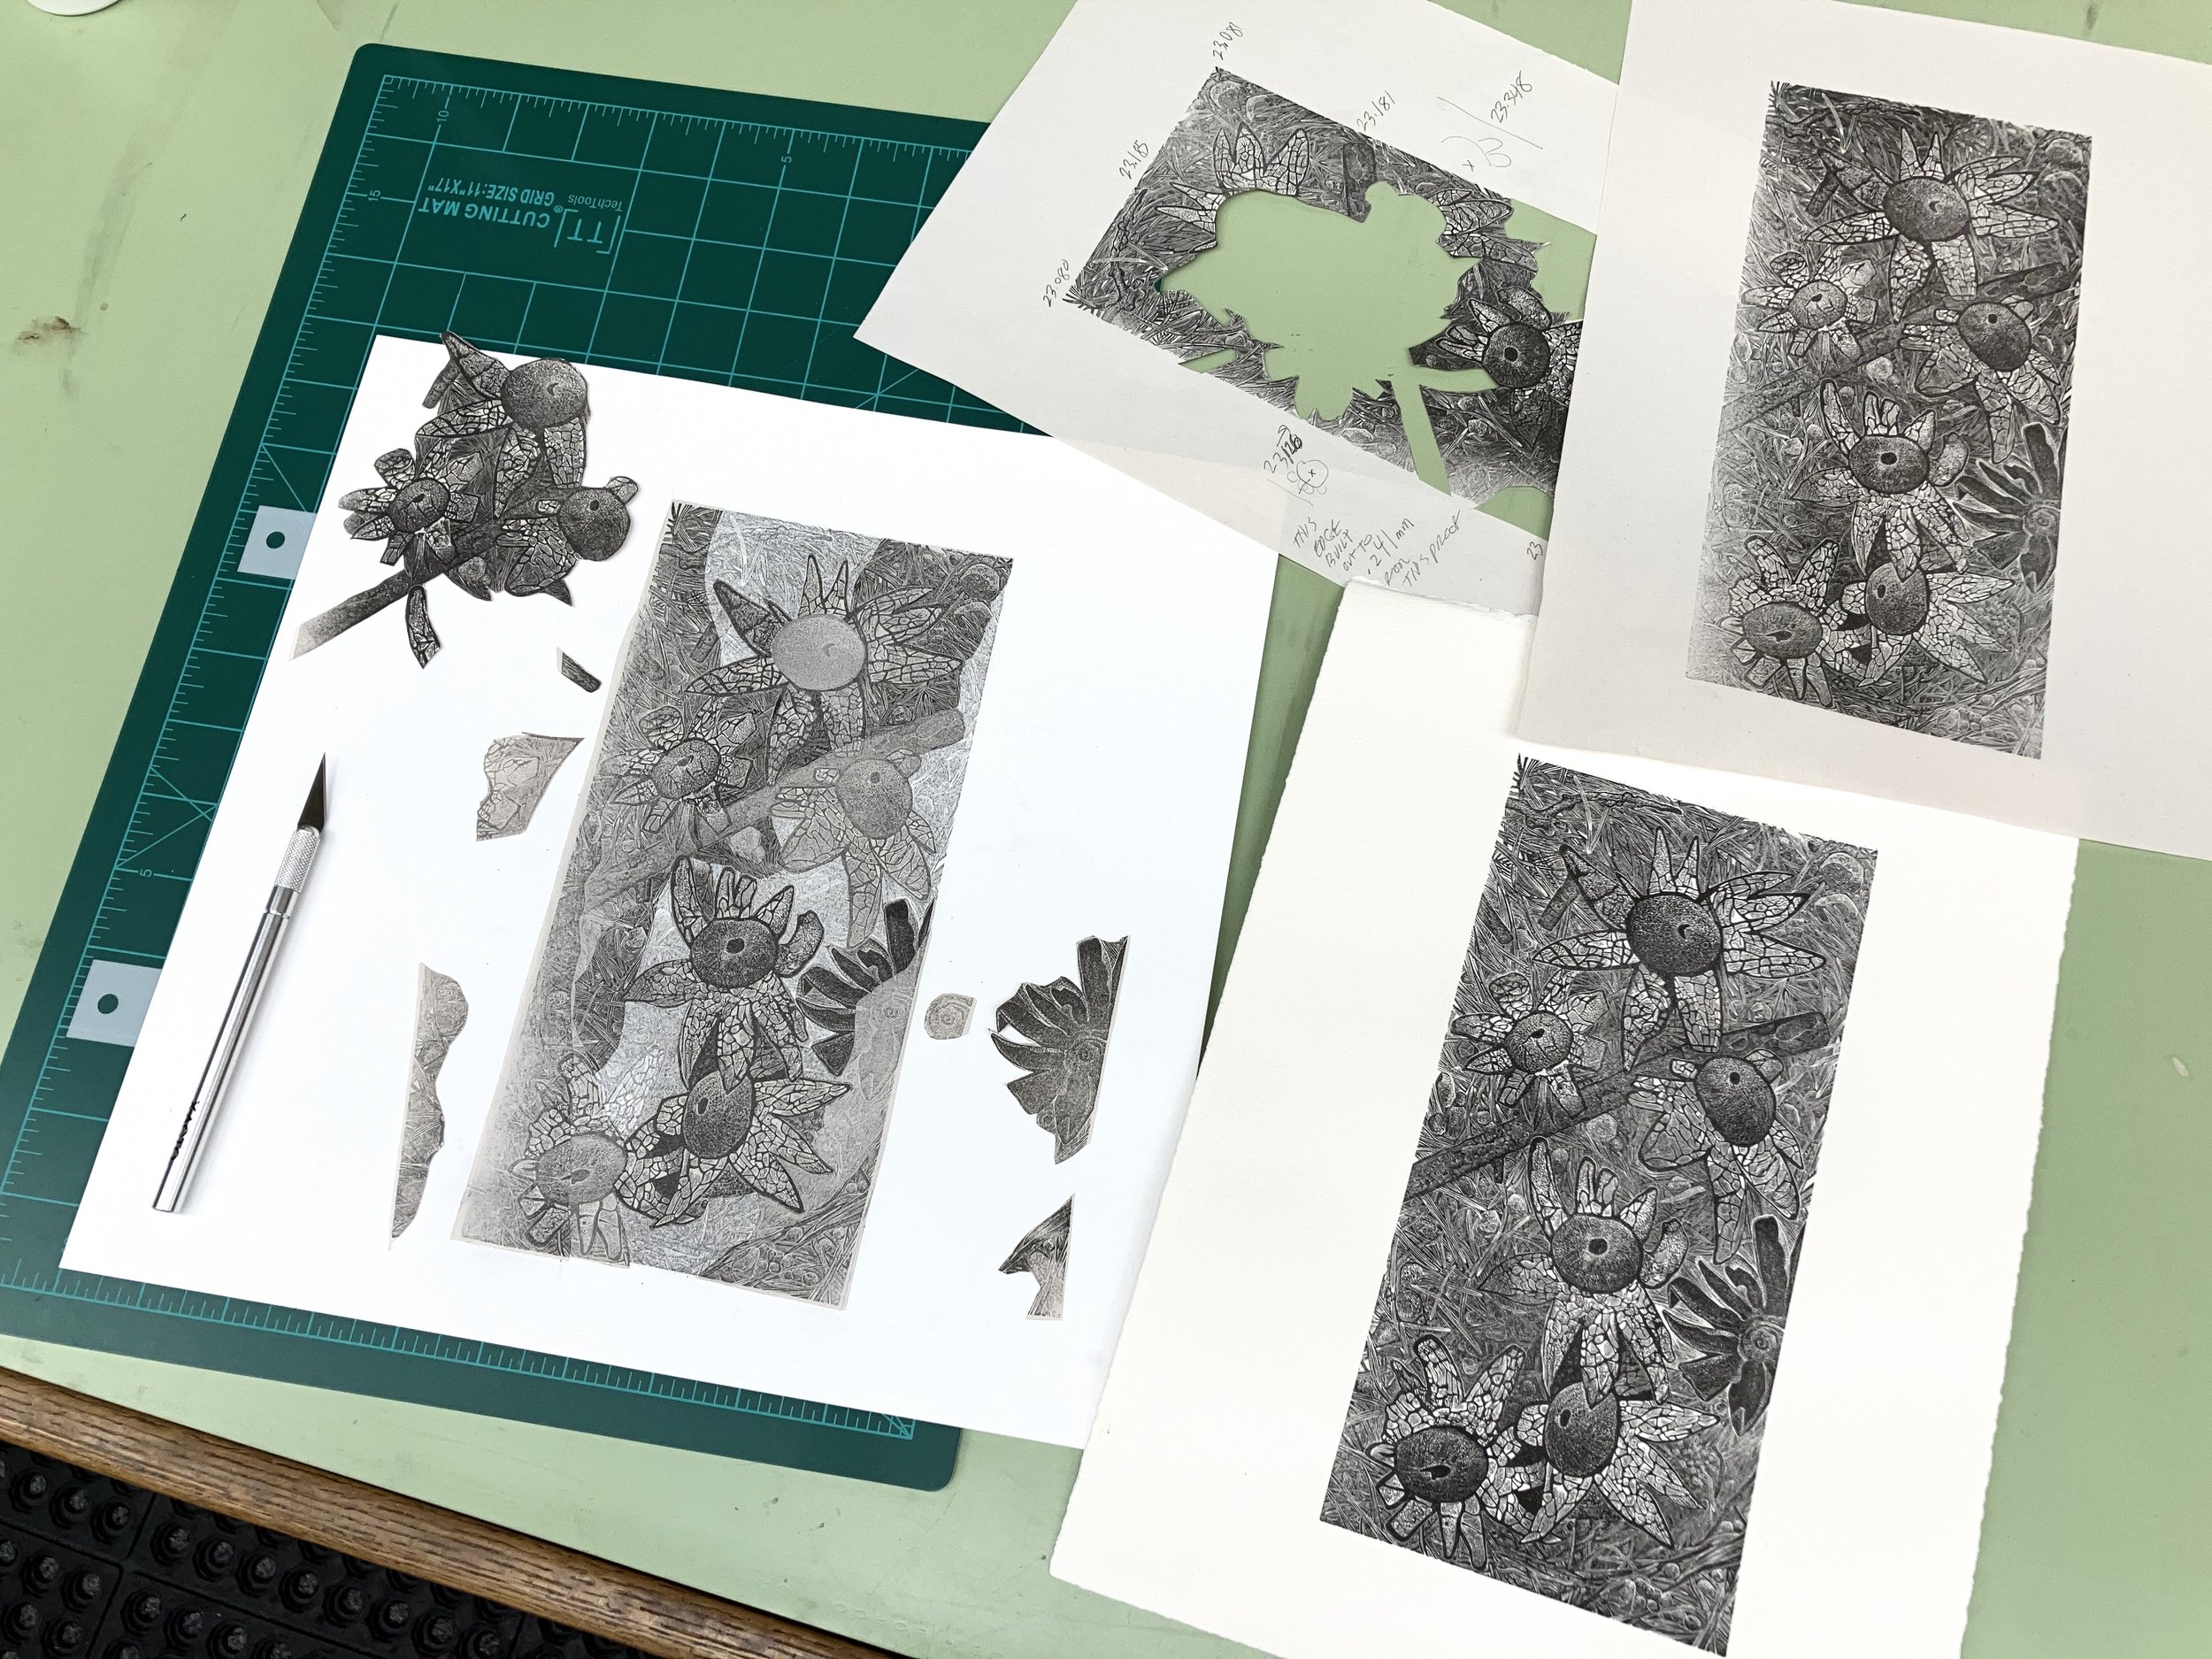
Here, two blocks that I made, boxwood round on the left and a lemonwood rectangle on the right. It’s exacting work for sure, and I can now honestly say Chris Daunt made blocks are a bargain.

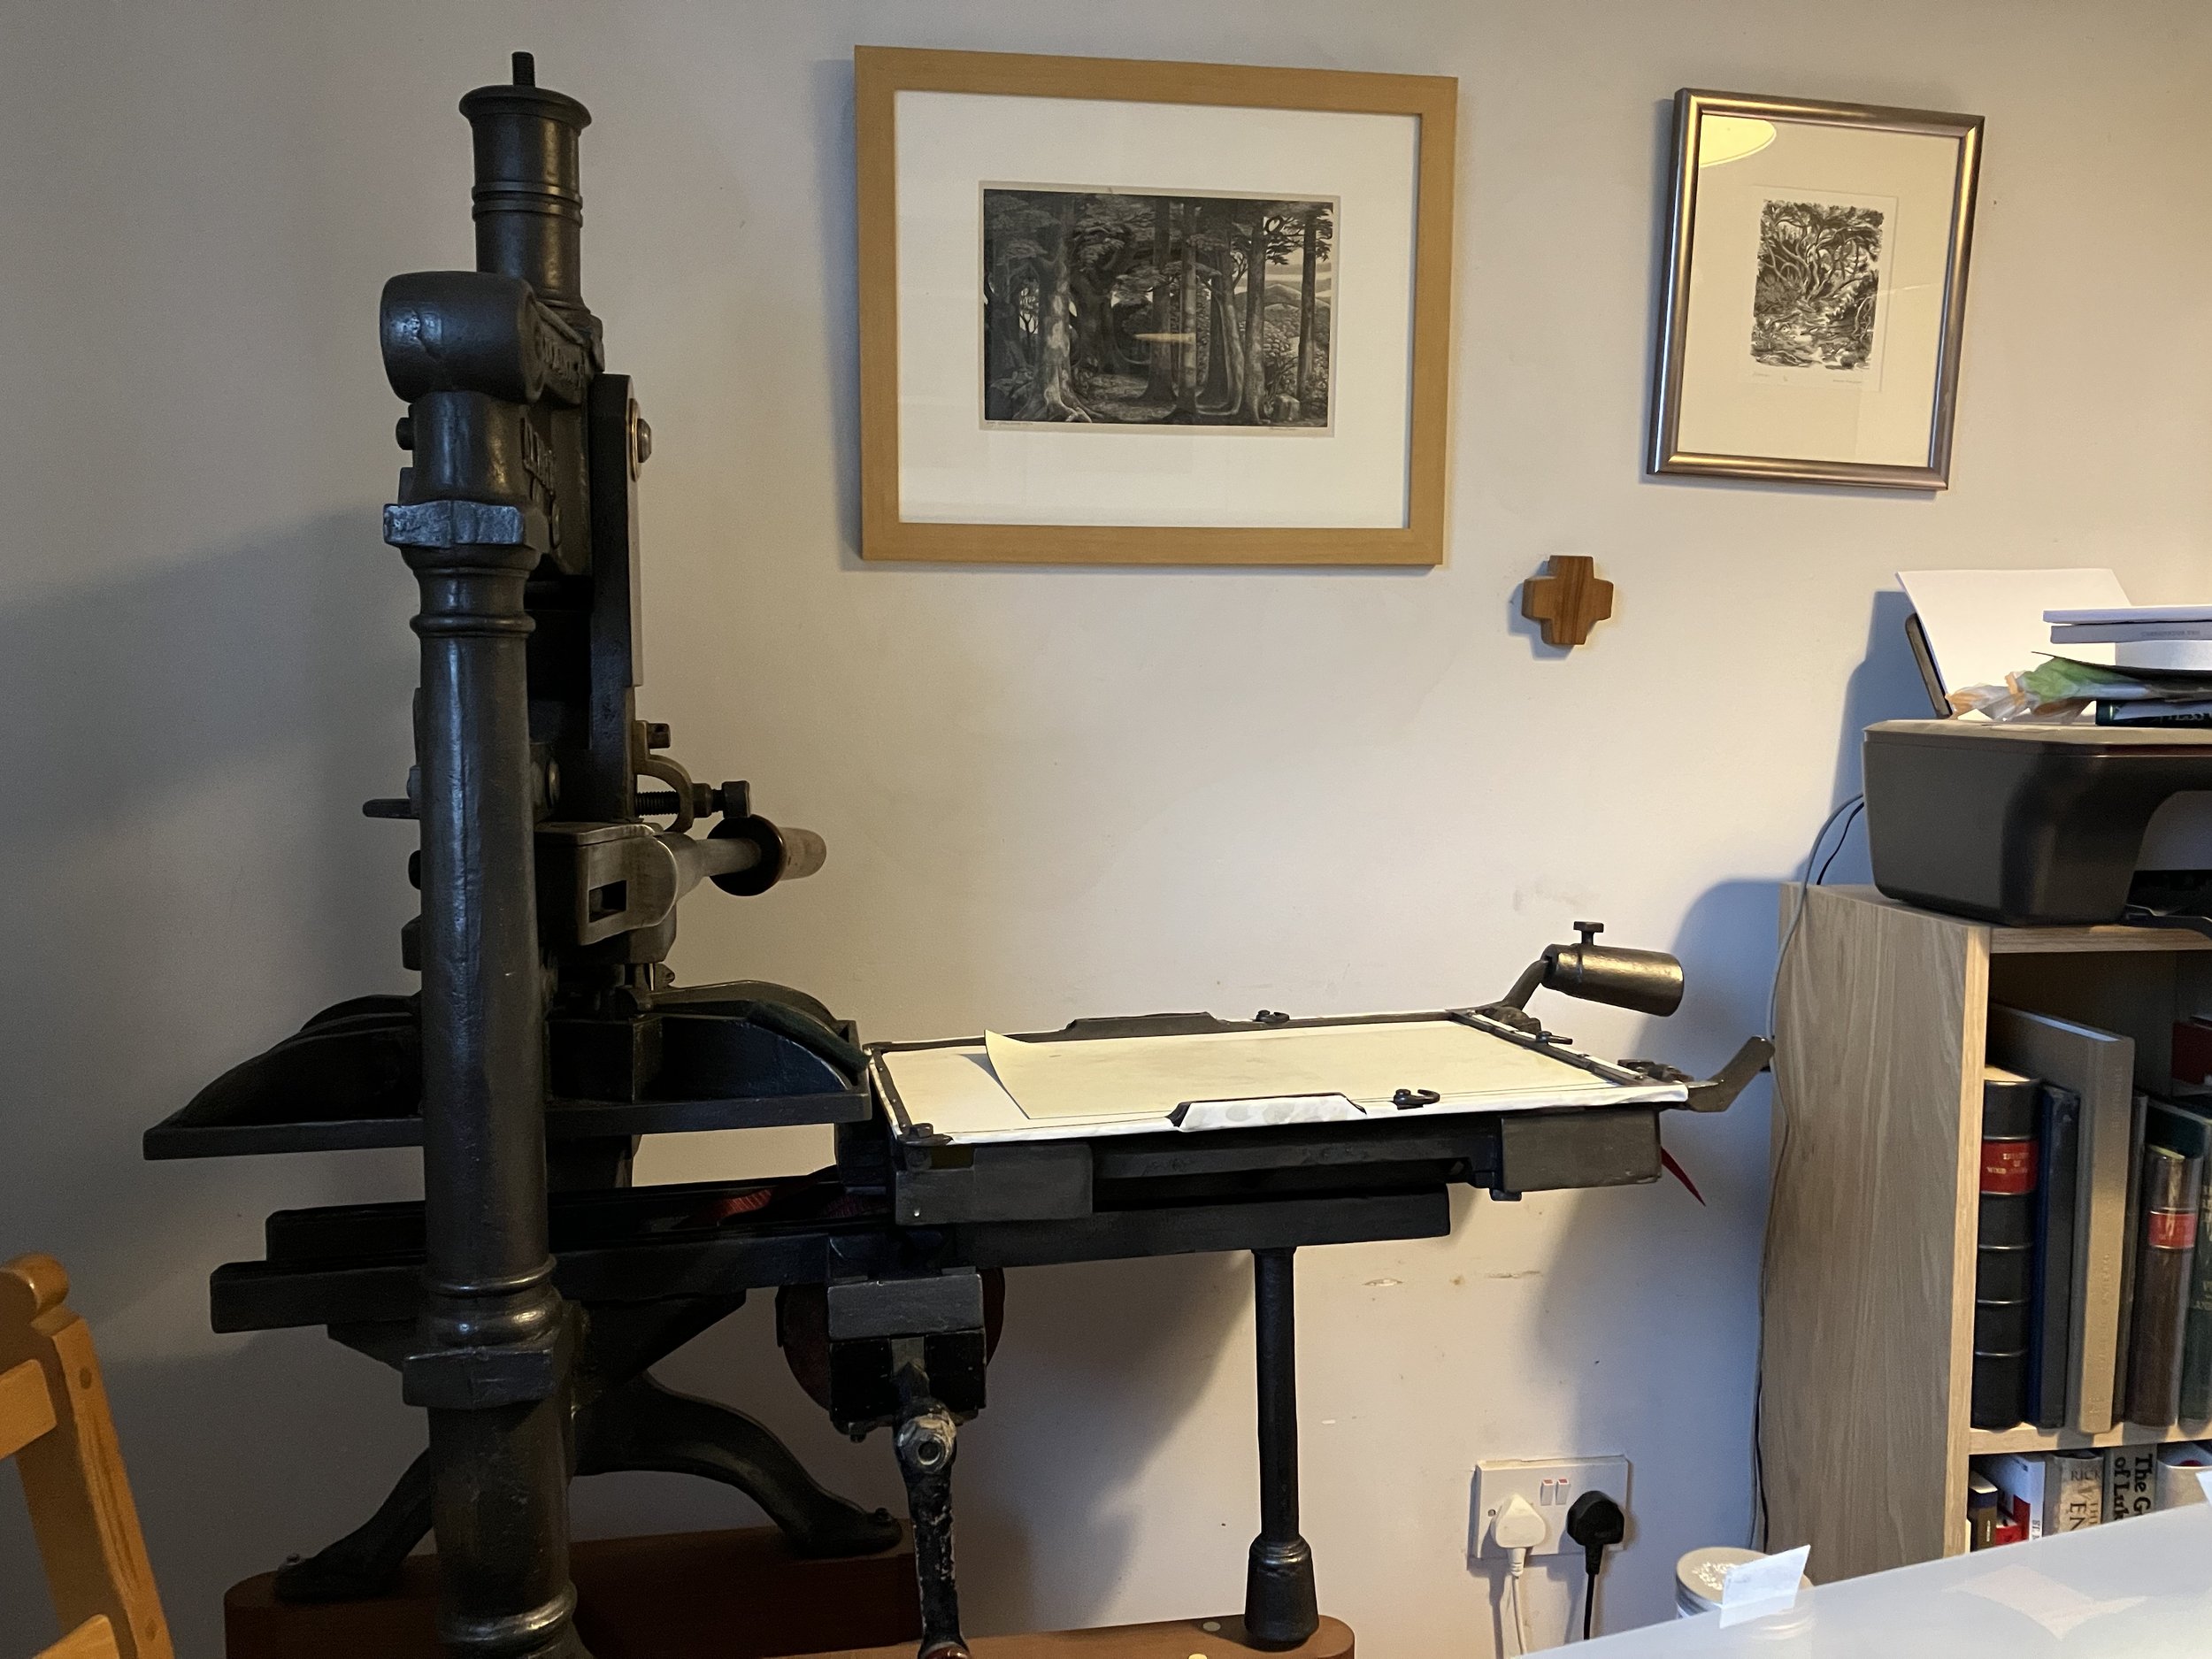
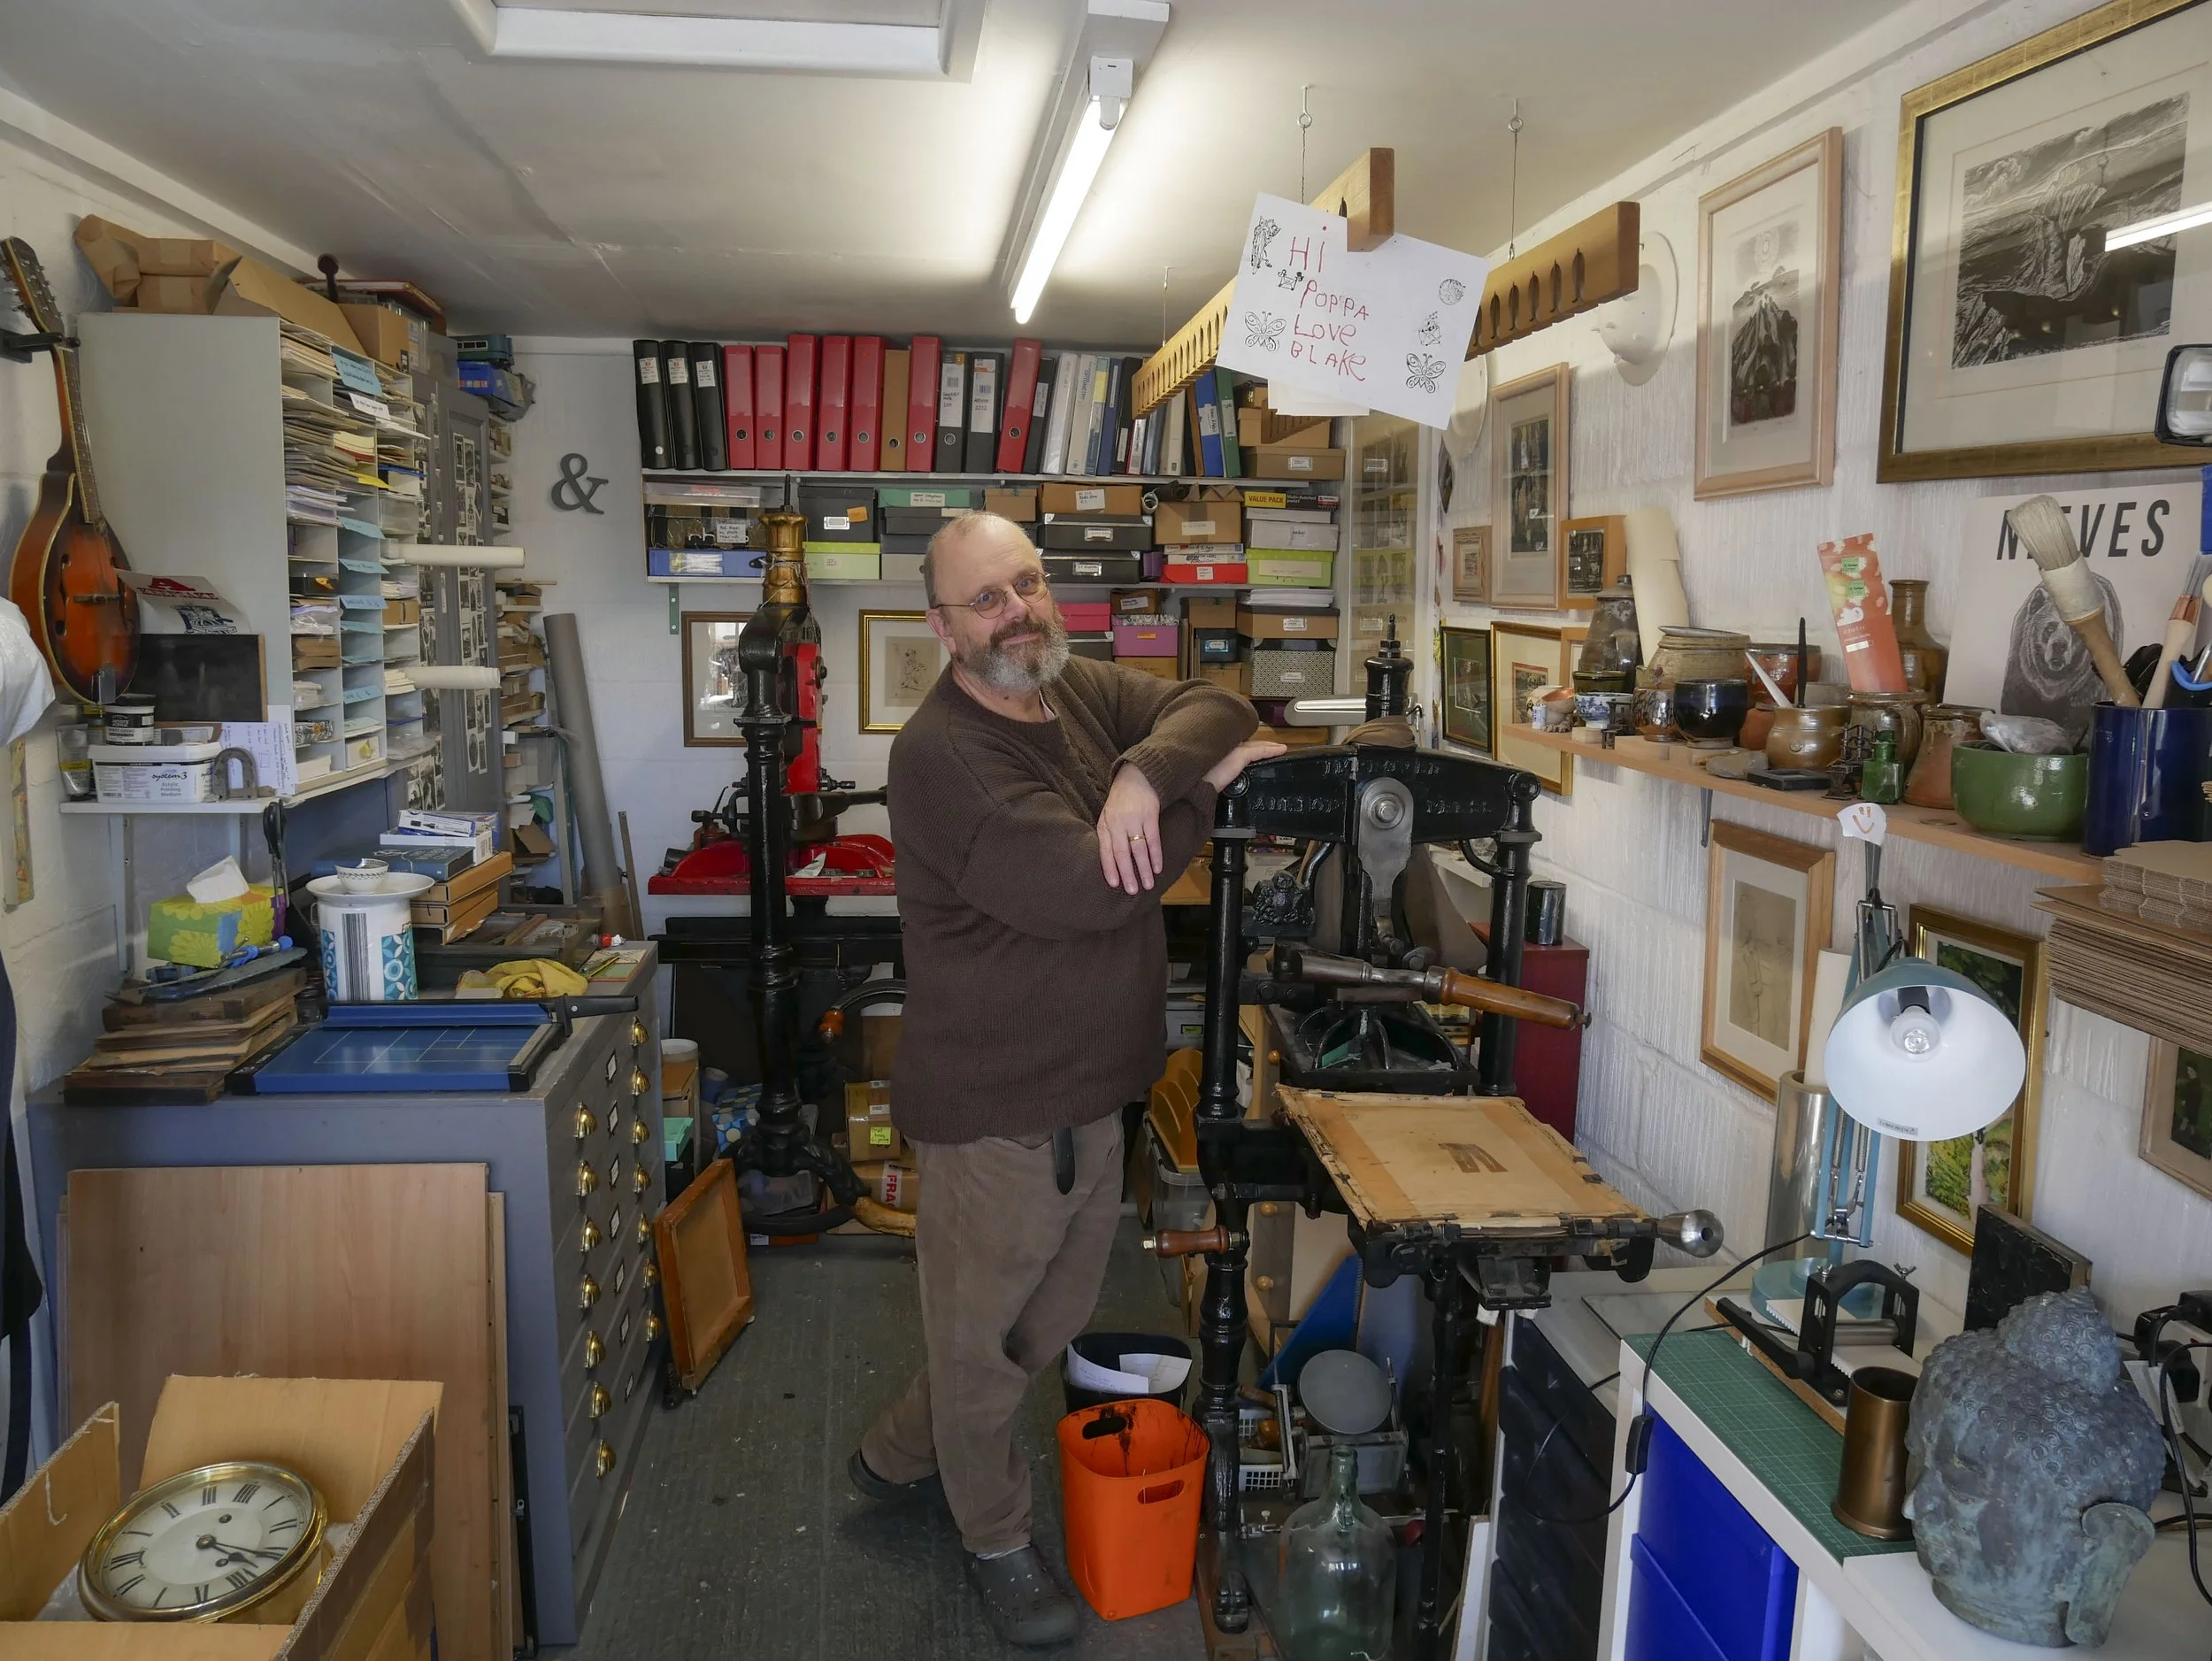
Next to Chris’ dining area table was the sweet tabletop size Albion press (which could also serve as a deluxe tortilla press). I spent part of an afternoon helping Chris set-up the press. Self-learning the process (not many Albion owners in the US) with my press, had me knowing exactly what needed to be adjusted. The framed Monica Poole print about the press, “Edge of the Wood”, I too have framed and hanging up on our wall. Chris obtained this print with a little help from a Wisconsin based wood engraver, who found this print, bargain priced. That is what good friends are for.

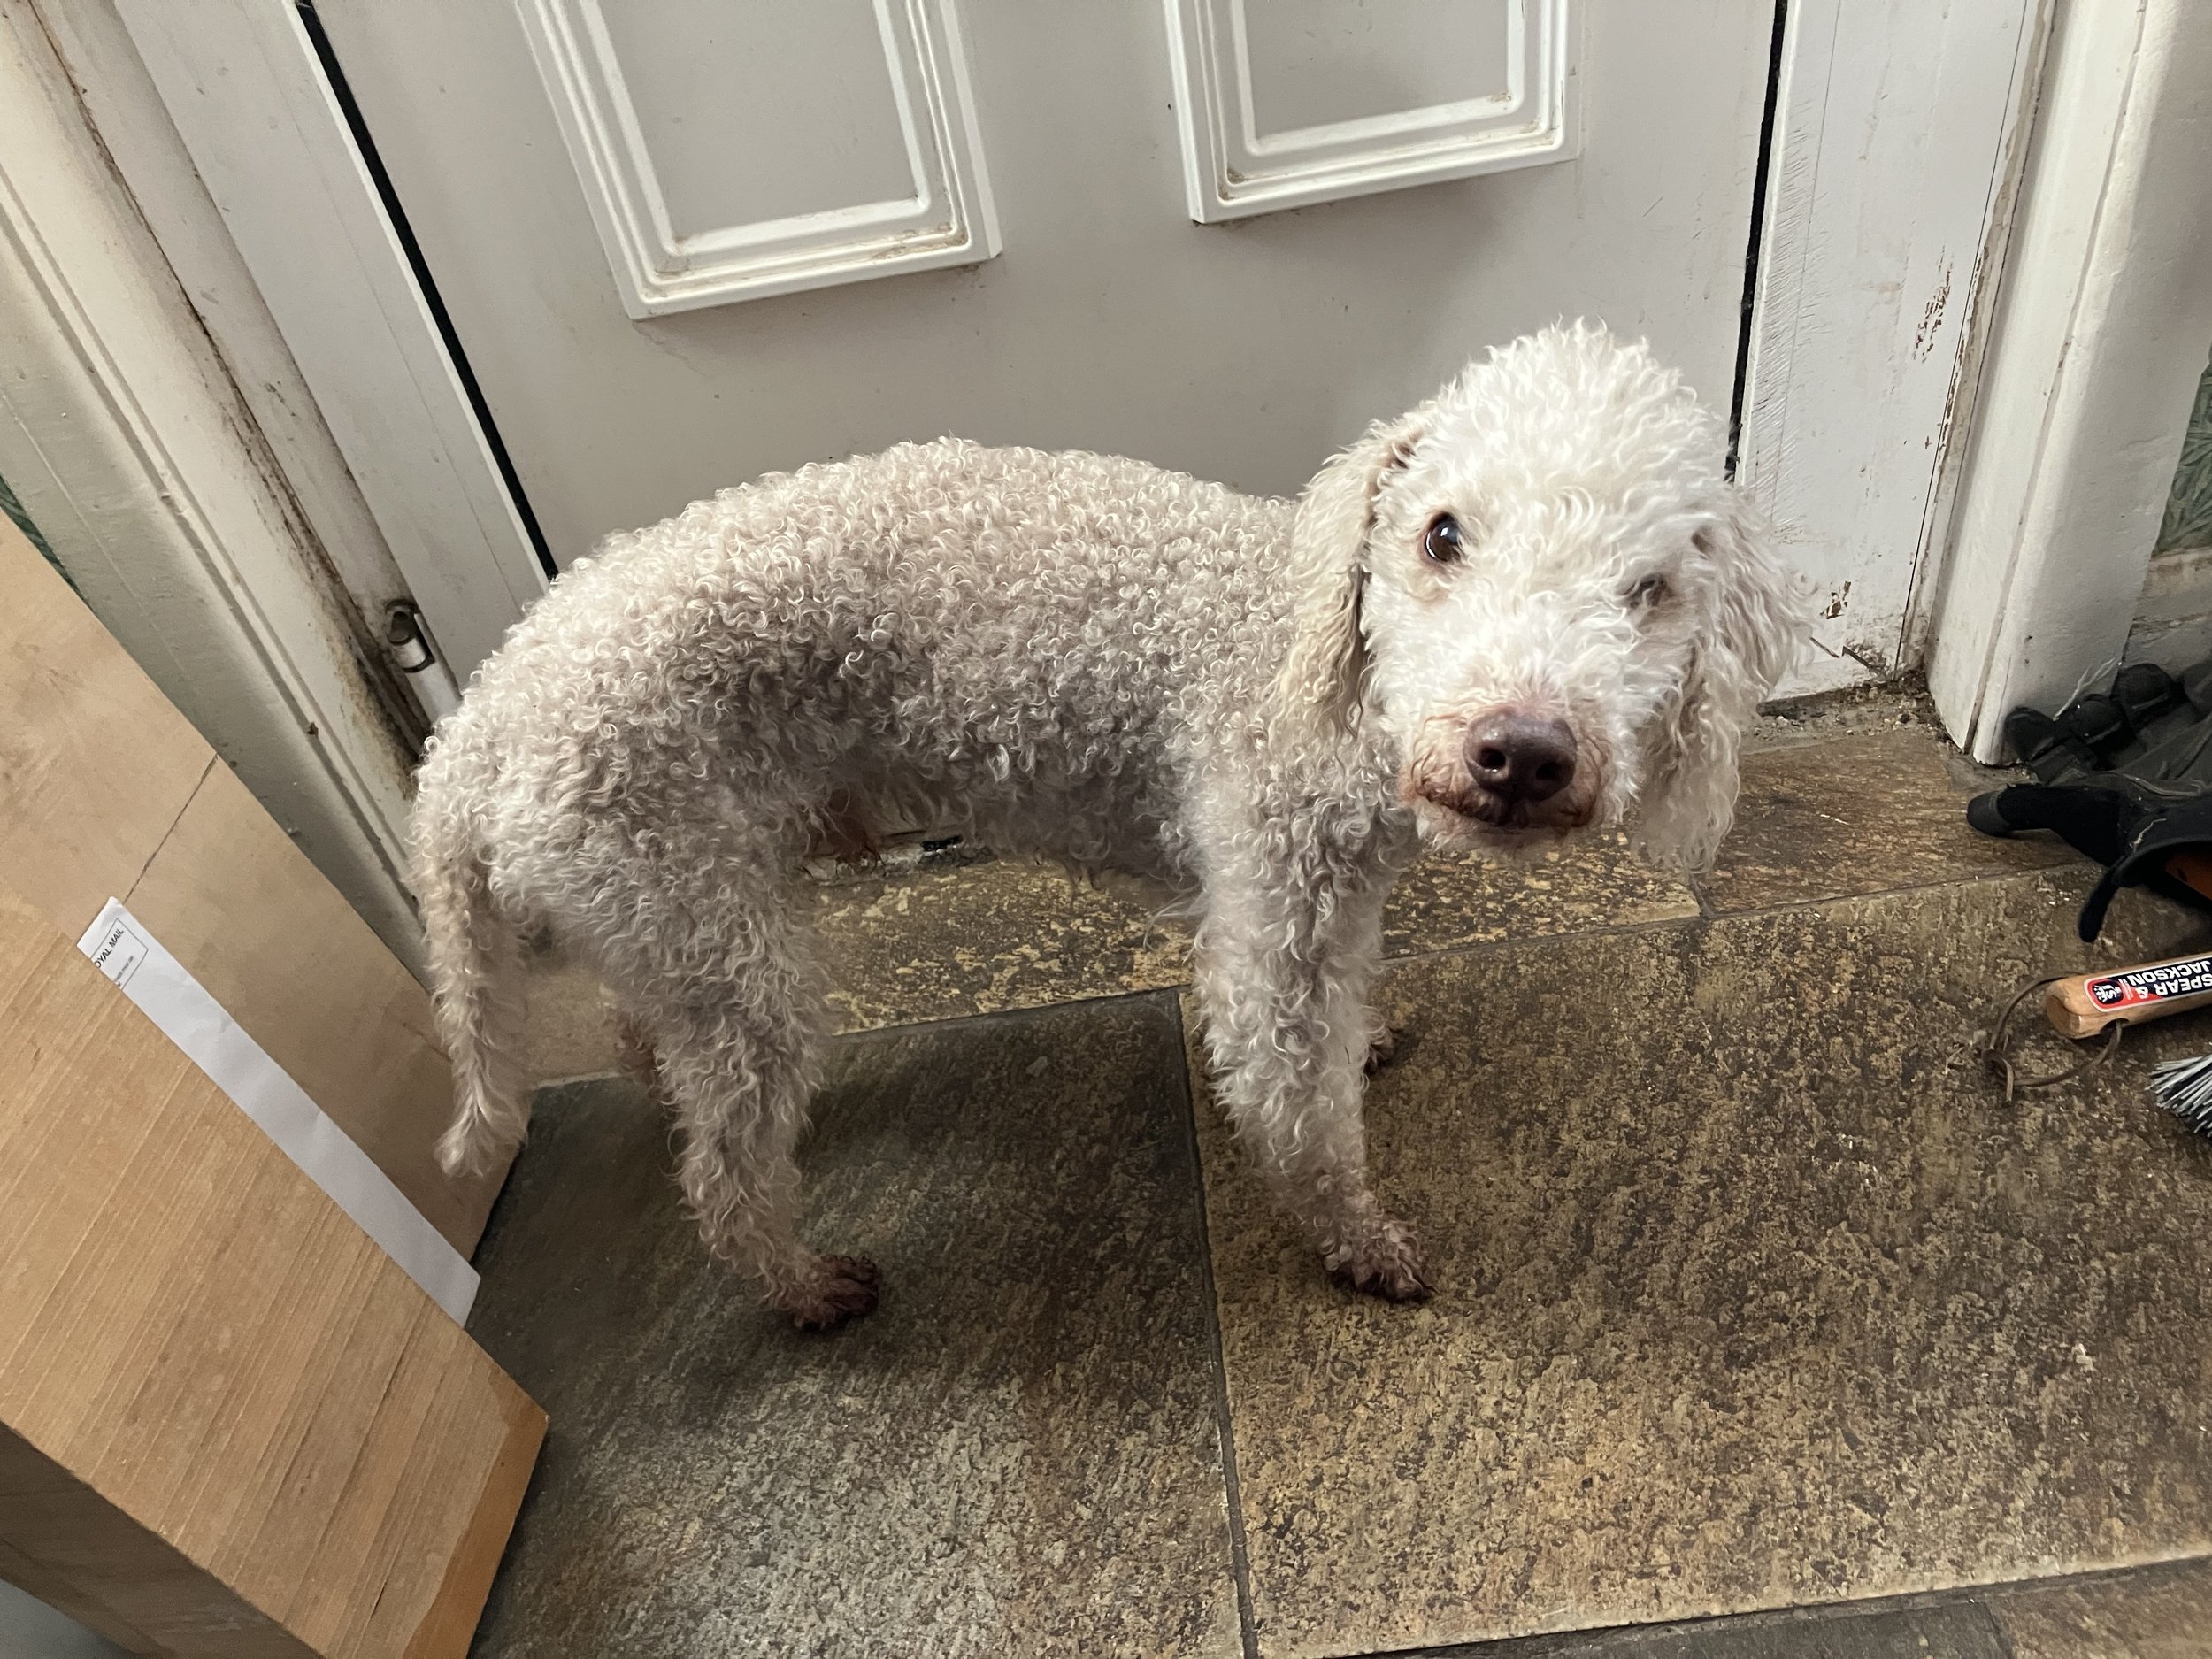
Here, Woody, Chris’ fitness coach, insisting we get some exercise taking a brisk walk.

A wave from Chris’ good friend Tony (I remembered his name), as they both treated me to a local football match.

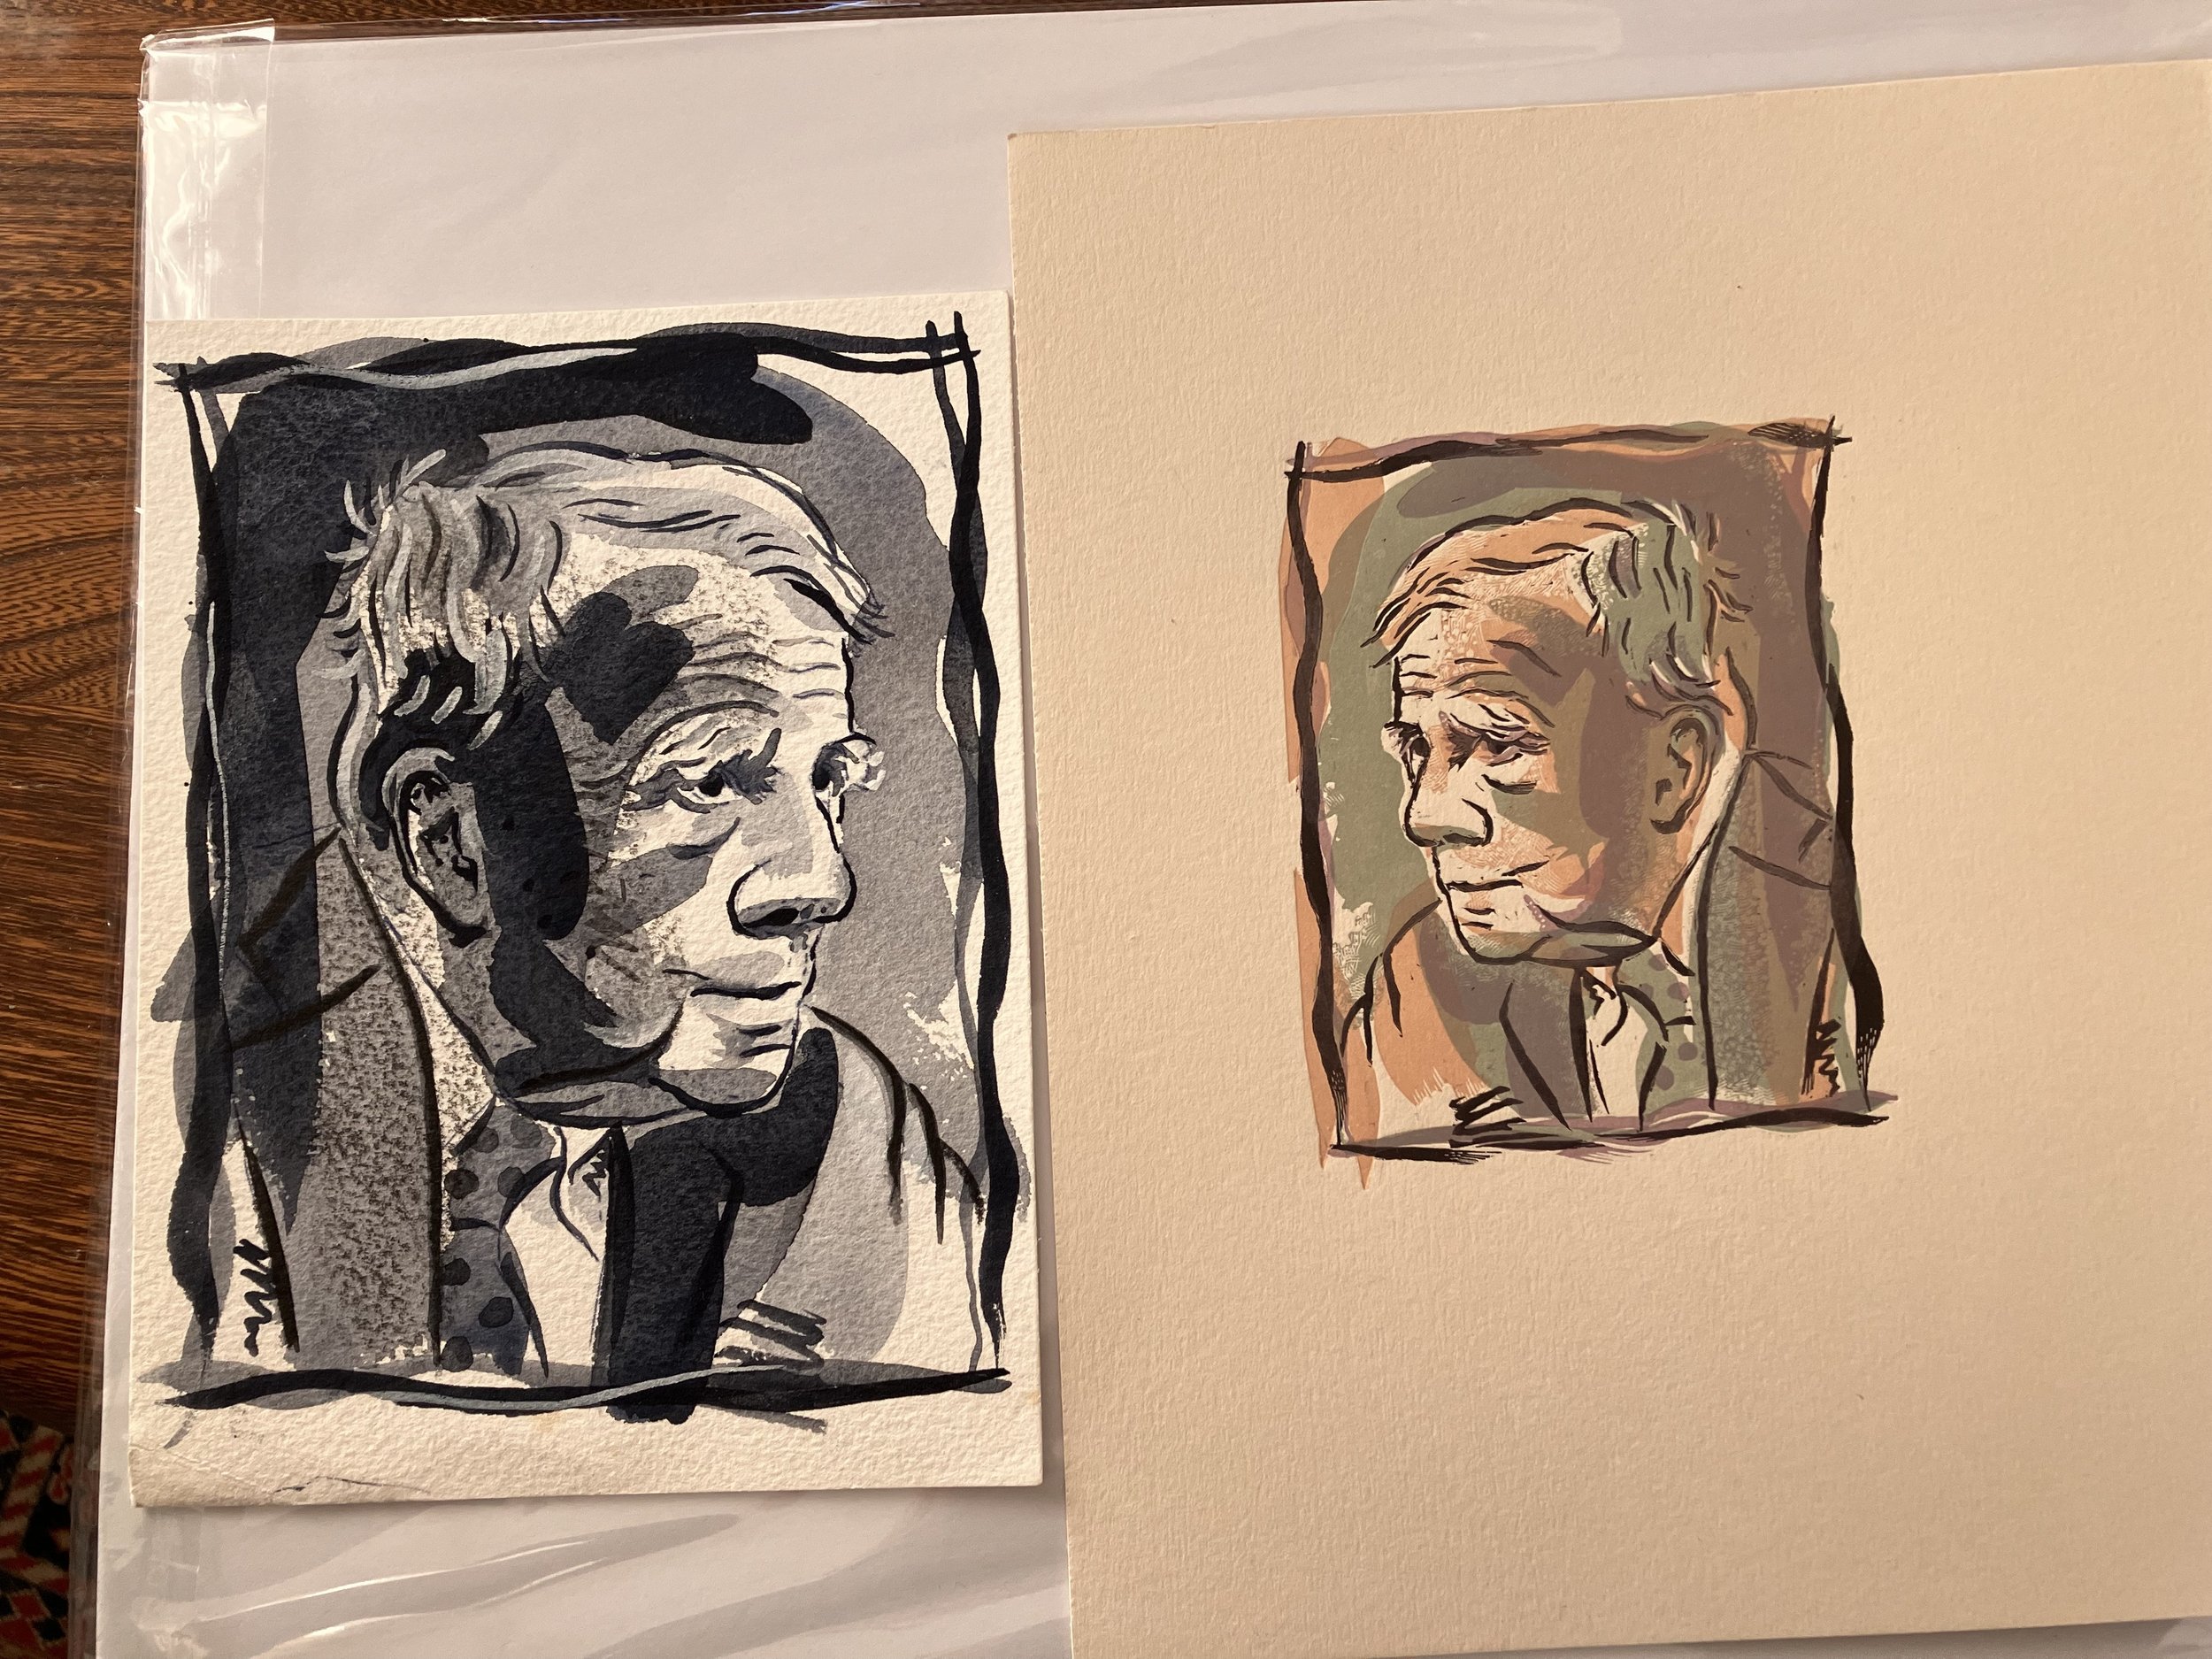
This gorgeous print (on the right) of Carl Sandburg was on display on Chris’ hallway wall, and I told Chris it was a gem - multi-color printing at its best. Chris found the ink wash study that he painted and worked with to achieve a “brush-y” look.

Chris’ shelves. The block-maker, block-engraver, print-maker extraordinaire.

Dürer in Bath

When in Bath, I viewed a wonderful Dürer exhibit at the Holburne Museum. Here are a few (of many) photos I took.

I had the rare opportunity to view the complete set of woodcuts known as The Great Passion.

Here a detail, this a woodcut with the detail of a wood engraving.

Each woodcut was filled with remarkable imagery.

Pine Needle-ing

I am back to engraving, not being satisfied with sections of my current wood engraving. I am working through what paper to print my edition on (making multiple paper orders) and figuring out how to print with makeready on my No. 1 Vandercook Proof press (the block is too big to use the Albion press). The engraving needs more work, as I found many sections “blah”, mostly areas of the pine needles.

Proof on right, and makeready on left, working on getting a better print of my Barometer Earthstar Mushroom wood engraving.

I refer to photos I took of the mushrooms taken the day before the year’s first significant snowfall, the mushrooms were quite decayed. I decided to illuminate the needles more.

I am not rubbing chalk powder into the lines that were blackened in the printing process, which can help one see how the final engraving looks. Having a recent printed proof nearby gives me enough information to work with.

To be continued . . .

Making Marble Drying Racks

I viewed a few marble drying racks during my recent travels in England, and decided to finally make some for my ArtStart studio.

Andy English in his studio in Ely, and a marble drying rack overhead holding some art.

First step making large holes using my small drill press.

With the final shape of the openings drawn with a pencil I used a jigsaw to “rough” out most of the wood.

Here is my laminate router and template setup that produces the finished 12 shapes cut out of each board.

Before the template is clamped on, the hole is aligned as well as the bottom.

After the routing, getting a smoother and consistent opening compared to only using a jigsaw.

A hobbyist wire bender mounted in a small vise was used to make the bent stainless steel rods that keep the marbles in place.

It took a while to get the bent rod shapes consistent. First step bending the two ends, second step the right angle bend.

Next up precise hole drilling for holding the bent rods & assembly of the 4 marble racks. (I used the routing template to mark the holes.)

The new marble racks in use, hanging just inked prints back to back I can now dry 96 prints (and not use up all my tabletop space.)

And finally editioning my wood engraving of a pine cone.